


rose rooting help
cantu1216
12 years ago
Featured Answer
Sort by:Oldest
Comments (32)

SusieQsie_Fla
12 years agolast modified: 9 years ago
seil zone 6b MI
12 years agolast modified: 9 years agoRelated Professionals
Cerritos Landscape Contractors · Coram Landscape Contractors · Firestone Landscape Contractors · Forest Hills Landscape Contractors · Lynchburg Landscape Contractors · Palatine Landscape Contractors · Point Pleasant Landscape Contractors · Red Oak Landscape Contractors · San Antonio Landscape Contractors · Seminole Landscape Contractors · South Lyon Landscape Contractors · Tavares Landscape Contractors · Yuba City Landscape Contractors · Renton Roofing & Gutters · Manassas Roofing & Gutterscantu1216
12 years agolast modified: 9 years agoSusieQsie_Fla
12 years agolast modified: 9 years agoseil zone 6b MI
12 years agolast modified: 9 years agocantu1216
12 years agolast modified: 9 years agoroseseek
12 years agolast modified: 9 years agocantu1216
12 years agolast modified: 9 years agocantu1216
12 years agolast modified: 9 years agoroseseek
12 years agolast modified: 9 years agoseil zone 6b MI
12 years agolast modified: 9 years agoroseseek
12 years agolast modified: 9 years agocantu1216
12 years agolast modified: 9 years agoerasmus_gw
12 years agolast modified: 9 years agoroseseek
12 years agolast modified: 9 years agocantu1216
12 years agolast modified: 9 years agoroseseek
12 years agolast modified: 9 years agoerasmus_gw
12 years agolast modified: 9 years agoseil zone 6b MI
12 years agolast modified: 9 years agoerasmus_gw
12 years agolast modified: 9 years agoroseseek
12 years agolast modified: 9 years agospiderlily7
12 years agolast modified: 9 years agoerasmus_gw
12 years agolast modified: 9 years agoroseseek
12 years agolast modified: 9 years agocantu1216
12 years agolast modified: 9 years agoroseseek
12 years agolast modified: 9 years agovurbano
11 years agolast modified: 9 years agovurbano
11 years agolast modified: 9 years agobluegirl_gw
11 years agolast modified: 9 years agoSusieQsie_Fla
11 years agolast modified: 9 years agooverdrive
11 years agolast modified: 9 years ago

Related Stories
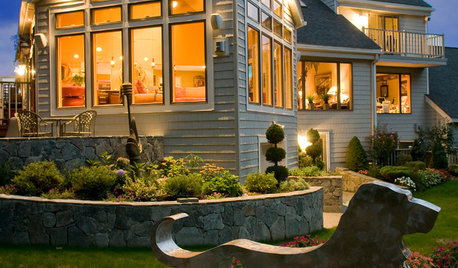
PETS6 Ways to Help Your Dog and Landscape Play Nicely Together
Keep your prized plantings intact and your dog happy too, with this wisdom from an expert gardener and dog guardian
Full Story
COLORPick-a-Paint Help: How to Create a Whole-House Color Palette
Don't be daunted. With these strategies, building a cohesive palette for your entire home is less difficult than it seems
Full Story
ARCHITECTURERoots of Style: Complex, Romantic Gothic Revival
With its medieval heritage, Gothic design makes a lasting impression in art and architecture
Full Story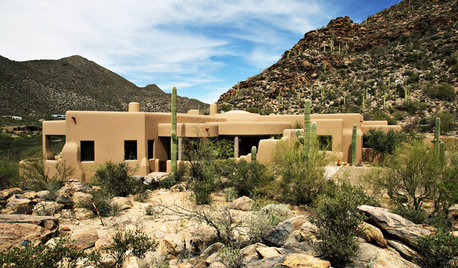
TRADITIONAL ARCHITECTURERoots of Style: Pueblo Revival Architecture Welcomes Modern Life
Centuries-old details of adobe construction still appeal in the desert Southwest, adapted to today's tastes
Full Story
ARCHITECTURERoots of Style: Do You Live in a Minimalist Traditional House?
Cottages, bungalows, farmhouses ... whatever you call them, houses in this style share several characteristics. See how many your house has
Full Story
ROOTS OF STYLERoots of Style: The Indelible Charm of American Tudors
Rich details and an intimate scale give this English-inspired architectural style memorable character and flexibilty
Full Story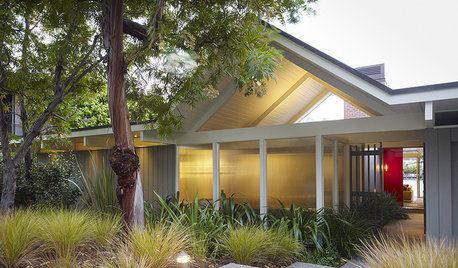
ARCHITECTURERoots of Style: Midcentury Styles Respond to Modern Life
See how postwar lifestyles spawned a range of styles, including minimalist traditional, ranch, split level and modern shed. What's next?
Full Story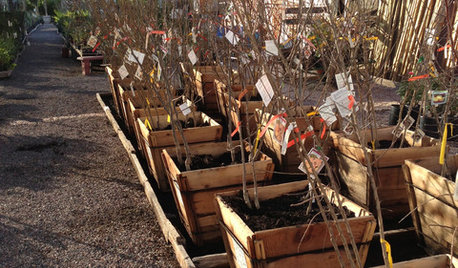
GARDENING GUIDESThe Beauty of Bare-Root Plants
Plant dormant trees and shrubs in fall using the easy, affordable bare-root method and enjoy beautiful results in spring
Full Story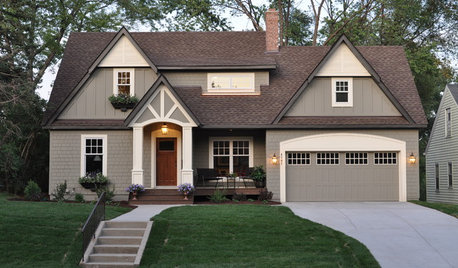
ARCHITECTURERoots of Style: Where Did Your House Get Its Look?
Explore the role of architectural fashions in current designs through 5 home styles that bridge past and present
Full Story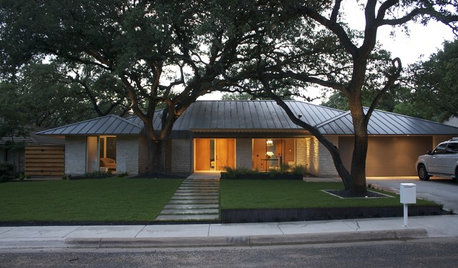
ARCHITECTURERoots of Style: Ranch Architecture Roams Across the U.S.
Great remodeling potential and generously spaced sites make ranch homes ever popular. Is one of the many variations right for you?
Full Story
roseseek