


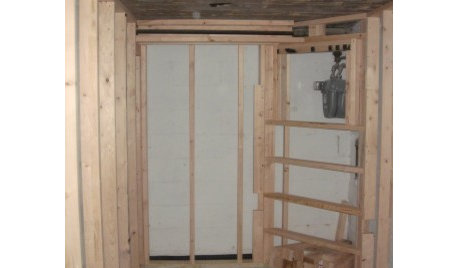
(photos) Critique me, please?
michelle_co
17 years ago
Related Stories

SUMMER GARDENINGHouzz Call: Please Show Us Your Summer Garden!
Share pictures of your home and yard this summer — we’d love to feature them in an upcoming story
Full Story
HOUSEPLANTSMother-in-Law's Tongue: Surprisingly Easy to Please
This low-maintenance, high-impact houseplant fits in with any design and can clear the air, too
Full Story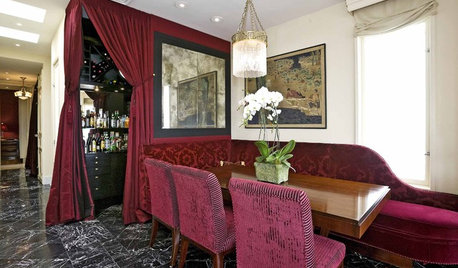
Yes, Please: Parisian Hotel Flair
Bring on the Bling to Recreate the City of Romance at Home
Full Story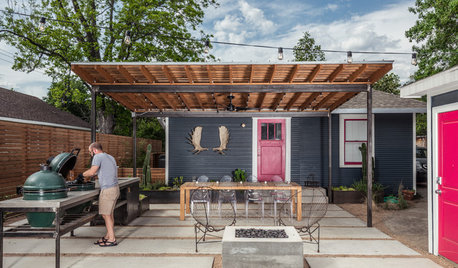
OUTDOOR KITCHENSHouzz Call: Please Show Us Your Grill Setup
Gas or charcoal? Front and center or out of the way? We want to see how you barbecue at home
Full Story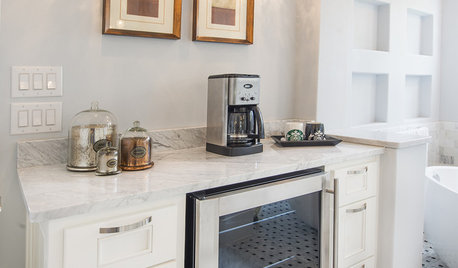
BATHROOM DESIGNUpload of the Day: A Mini Fridge in the Master Bathroom? Yes, Please!
Talk about convenience. Better yet, get it yourself after being inspired by this Texas bath
Full Story
HOME OFFICESQuiet, Please! How to Cut Noise Pollution at Home
Leaf blowers, trucks or noisy neighbors driving you berserk? These sound-reduction strategies can help you hush things up
Full Story
TILEMoor Tile, Please!
Add an exotic touch with Moroccan tiles in everything from intricate patterns and rich colors to subtle, luminous neutrals
Full Story
LIVING ROOMSCurtains, Please: See Our Contest Winner's Finished Dream Living Room
Check out the gorgeously designed and furnished new space now that the paint is dry and all the pieces are in place
Full Story
BEFORE AND AFTERSMore Room, Please: 5 Spectacularly Converted Garages
Design — and the desire for more space — turns humble garages into gracious living rooms
Full Story
woodroid
michelle_coOriginal Author
Related Professionals
Port Royal Landscape Architects & Landscape Designers · Waunakee Landscape Architects & Landscape Designers · Mooresville Landscape Contractors · Stamford Landscape Contractors · Cockeysville Landscape Contractors · Dedham Landscape Contractors · Indianapolis Landscape Contractors · Mastic Beach Landscape Contractors · Ponte Vedra Beach Landscape Contractors · Edison Roofing & Gutters · Orlando Roofing & Gutters · Sand Springs Roofing & Gutters · Tampa Roofing & Gutters · West Chester Roofing & Gutters · Hillcrest Heights Roofing & Guttersjeffreyd
michelle_coOriginal Author
woodroid
michelle_coOriginal Author
countrygirlsc, Upstate SC
aliska12000
elks
aliska12000
rosyone
aliska12000
george_mander