


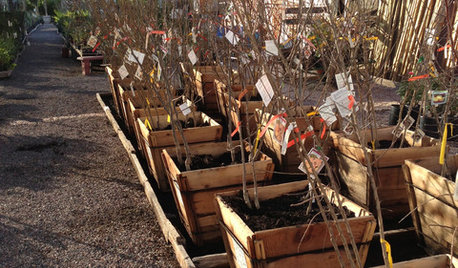
Lazy rooting method
dmaivn
19 years ago
Sort by:Oldest
Comments (37)
Related Stories
GARDENING GUIDESThe Beauty of Bare-Root Plants
Plant dormant trees and shrubs in fall using the easy, affordable bare-root method and enjoy beautiful results in spring
Full Story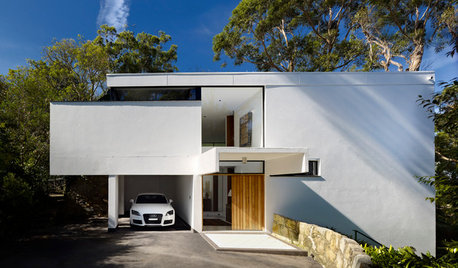
MODERN ARCHITECTURERoots of Style: International Style Celebrates Pure Form
Using technology and materials of the time, International style is always current. See its expression in these 16 homes around the world
Full Story
ARTThe Beauty of Bonsai — Living Art, Rooted in Harmony
Create your own emblem of nature's balance with an art form dating back 1,000 years
Full Story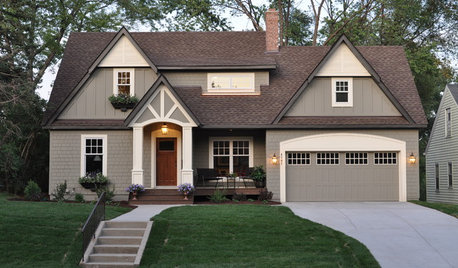
ARCHITECTURERoots of Style: Where Did Your House Get Its Look?
Explore the role of architectural fashions in current designs through 5 home styles that bridge past and present
Full Story
ROOTS OF STYLERoots of Style: The Birth of Modern Architecture
Learn how Prairie, Craftsman, art deco and other styles of the early 20th century came to influence architecture today
Full Story
TRADITIONAL ARCHITECTURERoots of Style: Château Architecture Strides Through a Century
Live like a lord with design details that recall French estates of old, even if they're scaled down and updated for today
Full Story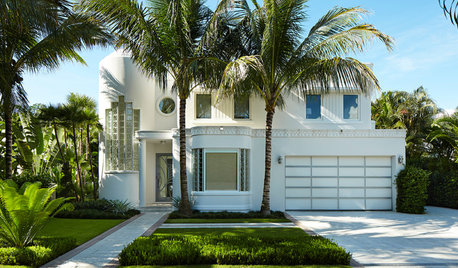
ARCHITECTURERoots of Style: Art Deco and Art Moderne
Get to know the similarities and differences between these architectural styles of the 1920s and 1930s
Full Story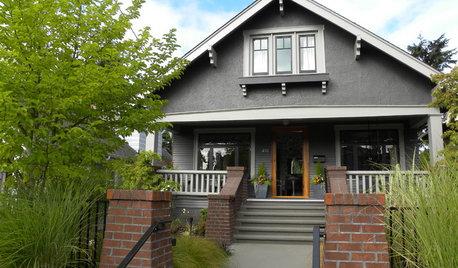
ARCHITECTURERoots of Style: See What Defines a Craftsman Home
Charming features and intimate proportions have made Craftsman houses an American favorite. See their common details and variations
Full Story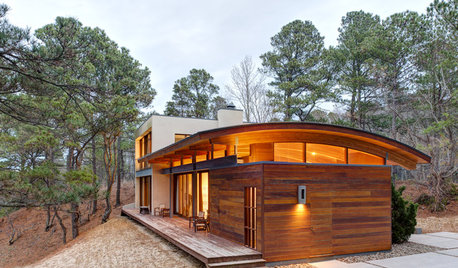
ARCHITECTURERoots of Style: The Segmental Vault Home
Distinctive and proud, these houses may be more common than you might first realize
Full Story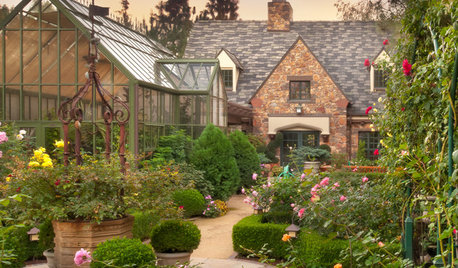
GARDEN STYLESNew Garden Styles Reveal Roots in Arts and Crafts Design
Landscape design from a century ago is still influencing gardens today — see if any of its features have sprung up in yours
Full StoryMore Discussions

hoovb zone 9 sunset 23
blalockm
Related Professionals
Horsham Landscape Architects & Landscape Designers · Surprise Landscape Contractors · Anderson Landscape Contractors · Concord Landscape Contractors · East Chicago Landscape Contractors · Fairview Landscape Contractors · Inglewood Landscape Contractors · Oakland Landscape Contractors · Royal Oak Landscape Contractors · Smyrna Landscape Contractors · Wilsonville Landscape Contractors · North Hills Landscape Contractors · Dallas Roofing & Gutters · Burlington Roofing & Gutters · South Orange Roofing & GuttersdmaivnOriginal Author
jannie
CHEROKEESP
threeducks
glockgirl
dmaivnOriginal Author
kimmienflorida
dmaivnOriginal Author
dmaivnOriginal Author
pxexaxcxex
andrearose
dmaivnOriginal Author
pocajun
cactusjoe1
ondrea_carina_leaf
dmaivnOriginal Author
aqrose
msjean
posie4u
dmaivnOriginal Author
Jim Dunkin
ondrea_carina_leaf
garden2garden
dmaivnOriginal Author
angelsmell
dixiebelleAR
dmaivnOriginal Author
kasiec
jennbenn
dmaivnOriginal Author
fairy_vic
agardenstateof_mind
carla17
ladywiny
dmaivnOriginal Author