


Was it the Right Time to Transplant Cuttings?
TNY78
11 years ago
Sort by:Oldest
Comments (7)
Related Stories
GARDENING GUIDES7 Ecofriendly Gardening Ideas That Also Cut Chore Time
Spend less time weeding, less money watering and more moments just sitting back and enjoying your healthy garden
Full Story
GARDENING GUIDESDesigning With Conifers: Finding the Right Garden Bedmates
In gardening, building on commonalities creates an enduring relationship
Full Story
CHRISTMASReal vs. Fake: How to Choose the Right Christmas Tree
Pitting flexibility and ease against cost and the environment can leave anyone flummoxed. This Christmas tree breakdown can help
Full Story
LANDSCAPE DESIGNCelebrate a Sunny Climate With the Right Leafy Palm for Your Site
So you get freezes or floods. So your garden is small. These palms send excuses riding off into the tropical sunset
Full Story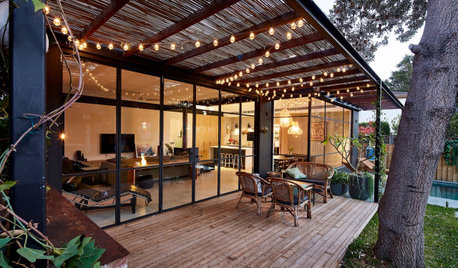
LANDSCAPE DESIGNWhich Pergola Is Right for You?
A covered pergola can increase the time you spend in your outdoor living space. Which covering should you choose?
Full Story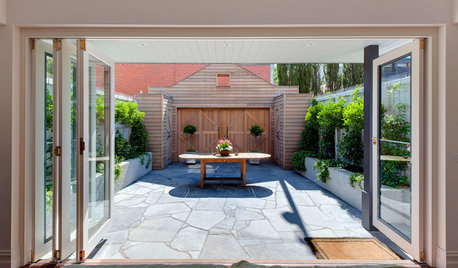
LANDSCAPE DESIGNHow to Pick the Right Paving and Decking Material
Once you’ve got the walls or fences of your garden figured out, it’s time to consider the ground surface or floors
Full Story
LANDSCAPE DESIGNIs It Time to Consider Fake Grass?
With more realistic-looking options than ever, synthetic turf can be a boon. Find the benefits and an installation how-to here
Full Story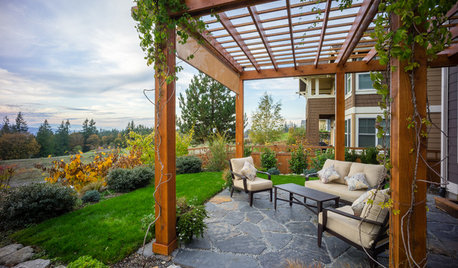
FALL GARDENINGWhy Fall Is the Best Time for Planting
Spring is overrated for planting. Starting plants in autumn has advantages for both garden and gardener
Full Story
GARDENING GUIDES10 Easy Edibles for First-Time Gardeners
Focus on these beginner-friendly vegetables, herbs, beans and salad greens to start a home farm with little fuss
Full Story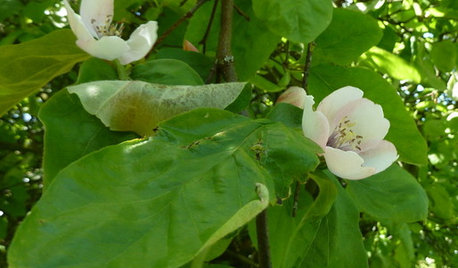
EDIBLE GARDENSWhy Grow Quince? For Beauty, Fragrance and Old-Time Flavor
Delightfully perfumed fruit and lovely spring blossoms make this apple and pear cousin worth a spot in the garden
Full Story
strawchicago z5
strawchicago z5
Related Professionals
Maple Valley Landscape Architects & Landscape Designers · Essex Landscape Architects & Landscape Designers · Norton Shores Landscape Architects & Landscape Designers · Apollo Beach Landscape Contractors · Bloomington Landscape Contractors · Fort Payne Landscape Contractors · Seymour Landscape Contractors · West Haverstraw Landscape Contractors · Yukon Landscape Contractors · Atlanta Roofing & Gutters · Cincinnati Roofing & Gutters · Knoxville Roofing & Gutters · Renton Roofing & Gutters · South Pasadena Roofing & Gutters · West Chester Roofing & Guttersstrawchicago z5
roseseek
TNY78Original Author
roseseek
foxgardeneruga