


Trading Propogation and Gardening Tips... Be sure to add your fav
greenthumbgrow
15 years ago
Sort by:Oldest
Comments (42)
Related Stories
REMODELING GUIDES10 Tips for Earth-Friendly Home Renovation
Whether you're just trading up tiles or redoing the whole house, these ecofriendly design ideas are good for your home and the planet
Full Story
FARM YOUR YARDHow to Grow Vegetables in Containers
Get glorious vegetables and fruits on your patio with a pro’s guidance — including his personal recipe for potting mix
Full Story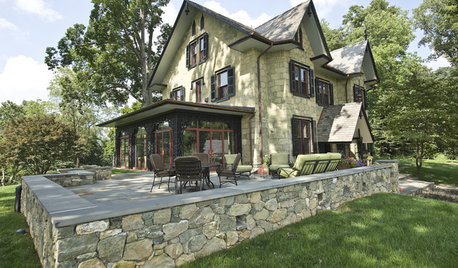
LANDSCAPE DESIGNGarden Walls: Mortared Stone Adds Structure, Style and Permanence
Learn the pros and cons of using wet-laid stone walls in your landscape
Full Story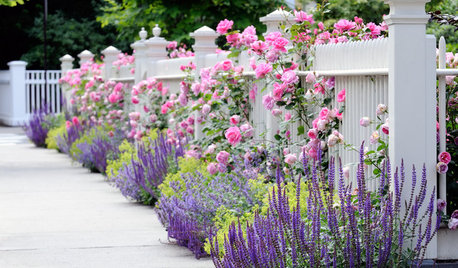
GARDENING GUIDES10 Tips to Start a Garden — Can-Do Ideas for Beginners
Green up your landscape even if you're short on time, money and knowledge, with these manageable steps for first-time gardeners
Full Story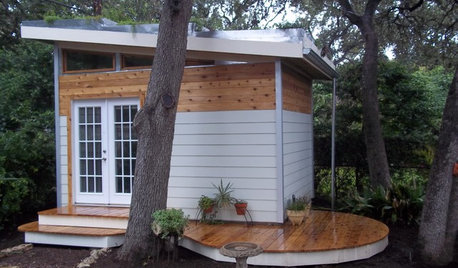
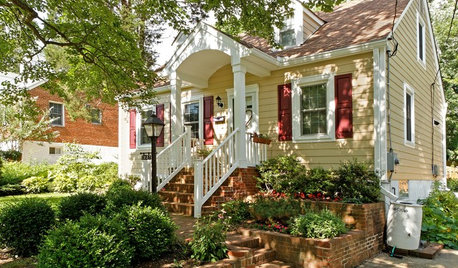
MOST POPULARHow to Add a Backyard Shed for Storage or Living
Need a home office, a playspace or extra room for your stuff? Learn about off-the-shelf, prefab and custom sheds
Full Story
LIFESlow Living 101: Tips for Turning Off the Chaos
It may feel as though you're too busy to slow down and enjoy life. But even little changes can have a big effect
Full Story
REMODELING GUIDESContractor Tips: What Your Contractor Really Means
Translate your contractor's lingo to get the communication on your home project right
Full Story
BATHROOM DESIGN10 Top Tips for Getting Bathroom Tile Right
Good planning is essential for bathroom tile that's set properly and works with the rest of your renovation. These tips help you do it right
Full Story
DECORATING GUIDES5 Decorating Tips for Getting Scale Right
Know how to work art, sectionals, coffee tables, lamps and headboards for a positively perfect interior
Full Story
HEALTHY HOME6 Tips From a Nearly Zero-Waste Home
Lower your trash output and increase your quality of life with these ideas from a mom who did it to the max
Full StoryMore Discussions

ibartoo
plant-one-on-me
Related Professionals
Forest Acres Landscape Architects & Landscape Designers · Manchester Landscape Contractors · Fort Payne Landscape Contractors · Fort Wayne Landscape Contractors · Huntley Landscape Contractors · Lehigh Acres Landscape Contractors · Sammamish Landscape Contractors · Tustin Landscape Contractors · Bethany Siding & Exteriors · Mitchellville Siding & Exteriors · Antioch Fence Contractors · Novato Fence Contractors · Olney Fence Contractors · South San Francisco Fence Contractors · Wake Forest Fence Contractorsmarkcase1964
gardenmom2
comary
plant-one-on-me
markcase1964
sissifriss
poisondartfrog
greenthumbgrowOriginal Author
poisondartfrog
galium
greenthumbgrowOriginal Author
margaret_2007
gardenmom2
greenthumbgrowOriginal Author
greenthumbgrowOriginal Author
gardenmom2
greenthumbgrowOriginal Author
ptp813
greenthumbgrowOriginal Author
angelady777 (Angela) - Zone 6
plant-one-on-me
greenthumbgrowOriginal Author
poisondartfrog
greenthumbgrowOriginal Author
angelady777 (Angela) - Zone 6
dirtdiggin
margaret_2007
dirtdiggin
gardenmom2
gardenmom2
greenthumbgrowOriginal Author
Melinda Hagen
southerncharm1
gardenmom2
greenthumbgrowOriginal Author
SmokyMist
gardenmom2
greenthumbgrowOriginal Author
ibartoo
gardenmom2