


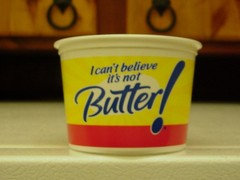
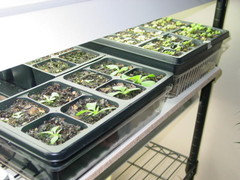
Cheap containers for seedlings?
mooserider
11 years ago
Featured Answer
Comments (24)

mooserider
11 years agokayjones
11 years agoRelated Professionals
Franconia Landscape Architects & Landscape Designers · Saint Charles Landscape Architects & Landscape Designers · Allentown Landscape Contractors · Coram Landscape Contractors · Dudley Landscape Contractors · Ponte Vedra Beach Landscape Contractors · 07920 Landscape Contractors · Silver Firs Landscape Contractors · Dallas Carpenters · Fitchburg Carpenters · Orland Park Carpenters · Tucson Carpenters · Phoenix Fence Contractors · Falls Church Fence Contractors · Woodinville Fence Contractorsmandolls
11 years agomooserider
11 years ago
digdirt2
11 years agogreenthumbintraining
11 years agogarf_gw
11 years agogarf_gw
11 years agocalistoga_al ca 15 usda 9
11 years agoteamemc
11 years agowally_1936
11 years agocalistoga_al ca 15 usda 9
11 years agomooserider
11 years agoCharlie
11 years agowally_1936
11 years agomooserider
11 years agojduren
11 years agojduren
11 years agomooserider
11 years agogr8atweeds
11 years agojduren
11 years agomandolls
11 years agojduren
11 years ago
Related Stories
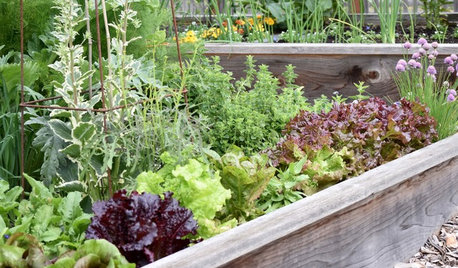
GARDENING GUIDESSeeds or Seedlings? How to Get Your Garden Started
Growing delicious herbs and vegetables starts with knowing your goals and when you want to plant
Full Story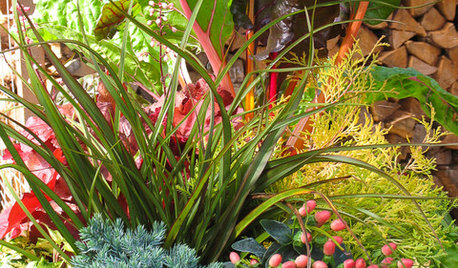
PLANTING IDEASStretch the Budget, Seasons and Style: Add Conifers to Your Containers
Small, low-maintenance conifers are a boon for mixed containers — and you can transplant them to your garden when they’ve outgrown the pot
Full Story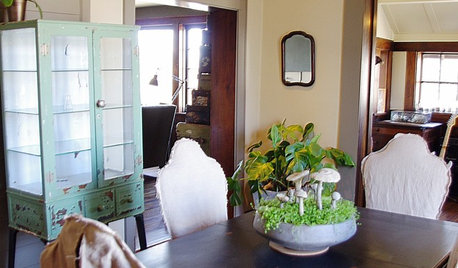
BUDGET DECORATINGBudget Decorator: 12 Cheap and Chic Fall Centerpieces
Some of the best things in fall are free (or nearly so) and make for beautiful, meaningful displays to brighten a table
Full Story
BUDGET DECORATING10 Beautiful, Decorative Gifts to Make on the Cheap
Save money while spreading the love with these personal DIY projects (pssst ... you can even keep them for yourself)
Full Story
BUDGET DECORATING15 Ways to Ready a Summer Home on the Cheap
Set up a comfy getaway where stress goes down the drain, without sending wads of cash along with it
Full Story
FARM YOUR YARDHow to Grow Vegetables in Containers
Get glorious vegetables and fruits on your patio with a pro’s guidance — including his personal recipe for potting mix
Full Story
CONTAINER GARDENSContainer Garden Basics: How and When to Water Potted Plants
Confused about soil moisture, the best time to water and what watering device to use? This guide can help
Full Story
FARM YOUR YARD10 Easy Edibles to Grow in Containers
These herbs, vegetables and fruits are just as happy in a pot as they are in the ground
Full Story
CONTAINER GARDENS8 Easy Container Plants to Grow From Seed
Get beautiful blooms and herbs in summer by starting these choice garden picks from seed in spring
Full Story
mamagnome