


For Granny, and her buckets
engineeredgarden
15 years ago

Sort by:Oldest
Comments (13)
Related Stories
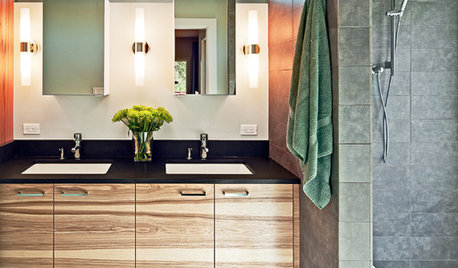
BATHROOM DESIGNA Designer Shares Her Master-Bathroom Wish List
She's planning her own renovation and daydreaming about what to include. What amenities are must-haves in your remodel or new build?
Full Story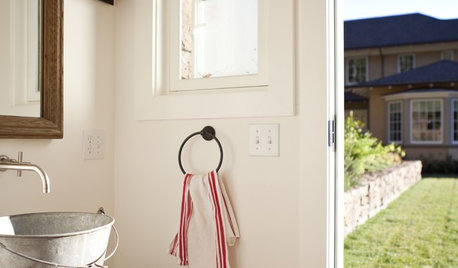
RUSTIC STYLEBucket Sinks Haul Rustic Chic Style Into Bathrooms
Washrooms and baths get a sprinkling of old-time prairie with metal bucket basins from antique to brand new
Full Story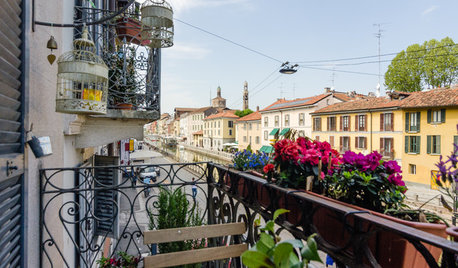
HOMES AROUND THE WORLDHouzz Tour: Milan Architect Puts Her Stamp on Her Space
A 19th-century balcony apartment in the city’s lively Navgli neighborhood gets freshened up
Full Story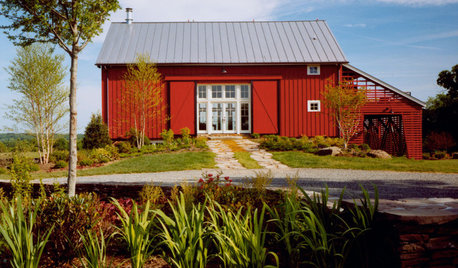
BARN HOMESOn an Architect's Bucket List: To Live in a Barn
Barn renovations celebrate the comfort of simple, big shapes, tied to the land
Full Story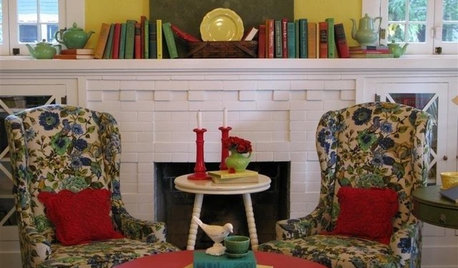
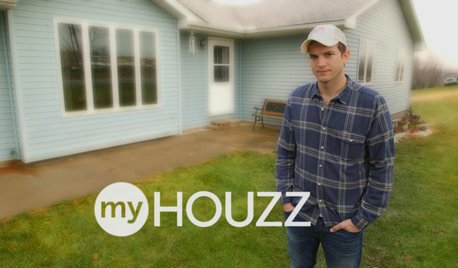
BASEMENTSHouzz TV: Ashton Kutcher Surprises Mom With the Basement of Her Dreams
In a new Houzz original series, the actor uses the Houzz app to find a designer and shop products to turn the dark area into a bright space
Full Story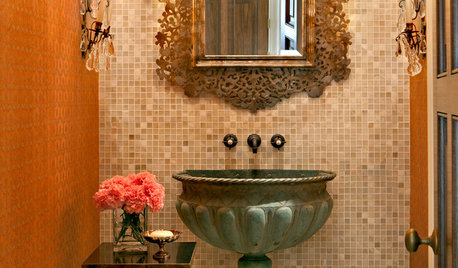
DECORATING GUIDESFor Your Next Sink, Think Unique
Any kind of vessel can do the trick — from buckets to barrels, outsized shells to old-fashioned washers
Full Story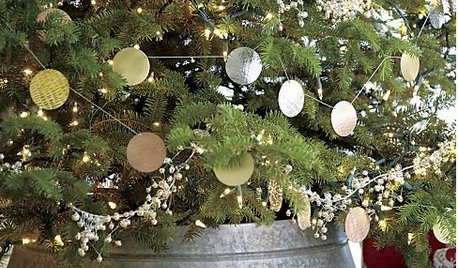
PRODUCT PICKSGuest Picks: Cool Alternatives to Christmas Tree Skirts
Give your tree a fashionable new outfit for Christmas this year with one of these collars, cuffs, baskets or buckets
Full Story
DECORATING GUIDESMy Houzz: Family Home Stays True to Style
A new mother creates a home that’s warm and welcoming for her daughter and yet still reflects her own taste
Full Story
KIDS’ SPACESRoom of the Day: Playhouse Becomes a Favorite Spot for Grandchildren
Faced with tearing down her toolshed, this homeowner saw the chance to make a special place for some of her favorite people
Full Story
farmboy66
anniesgranny
Related Professionals
Camp Verde Landscape Contractors · Corona Landscape Contractors · Long Branch Landscape Contractors · Natick Landscape Contractors · Northbridge Landscape Contractors · Pacifica Landscape Contractors · Rio Linda Landscape Contractors · Riverview Landscape Contractors · Palos Hills Landscape Contractors · Centereach Fence Contractors · Gilbert Fence Contractors · Hawaiian Gardens Fence Contractors · Northbrook Fence Contractors · Summit Fence Contractors · Wauconda Fence ContractorsengineeredgardenOriginal Author
anniesgranny
carolynp
engineeredgardenOriginal Author
DianeGA
engineeredgardenOriginal Author
eaglesgarden
engineeredgardenOriginal Author
sinfonian
anniesgranny
eaglesgarden