


compost as a source of heat for the GH
wildlifegardenermt
15 years ago
Sort by:Oldest
Comments (37)
Related Stories
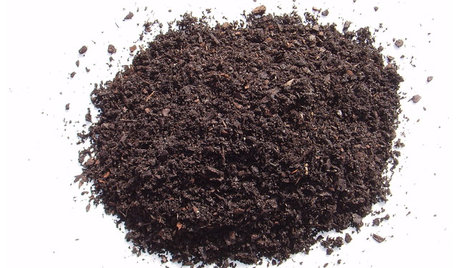
GARDENING GUIDESGet on a Composting Kick (Hello, Free Fertilizer!)
Quit shelling out for pricey substitutes that aren’t even as good. Here’s how to give your soil the best while lightening your trash load
Full Story
GARDENING GUIDESHouzz TV: Make a Worm Bin for Rich Soil and Happy Plants
A worm-powered compost bin that can fit under a sink turns food scraps into a powerful amendment for your garden. Here’s how to make one
Full Story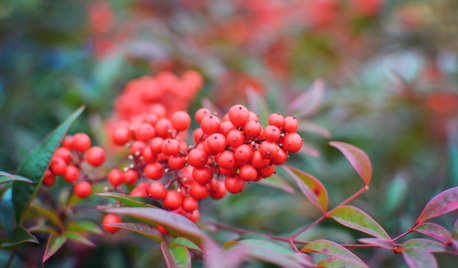
GARDENING GUIDESMid-Atlantic Gardener's January Checklist
Scatter berries while ye may, be kind to your fair-feathered friends and try a time-saving compost trick that will keep you out of the cold
Full Story
GARDENING GUIDESCalifornia Gardener: What to Do in July
Active green thumb or not, top priorities for peak fruit and veggie season: watering, feeding, keeping up with growth
Full Story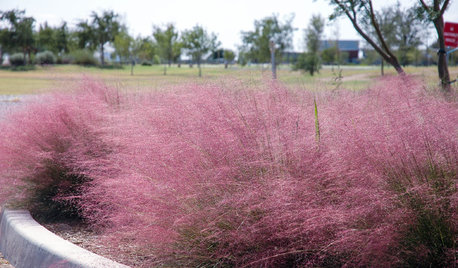
NATIVE PLANTS10 Top Plants Native to the Desert Southwest
Get a thriving garden despite unforgiving conditions with these tough, unthirsty, sun-loving beauties
Full Story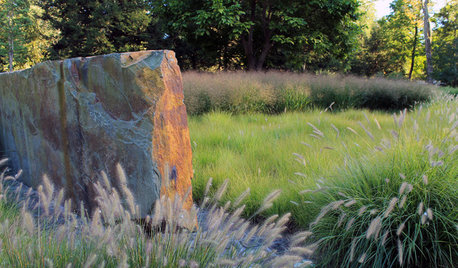
EARTH DAYThe Case for Losing the Traditional Lawn
Work less, help the environment and foster connections by just saying no to typical turf
Full Story
GARDENING GUIDESThe Poop Scoop: Enrich Your Soil With Good Old Manure
Get over the ick factor already — this natural super-ingredient for soil has so many benefits, you'll wonder why you ever went chemical
Full Story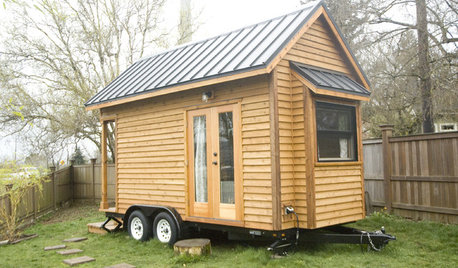
HOUZZ TOURSMy Houzz: Mobile Microliving in Oregon
A 128-square-foot home for a couple in Portland is designed for simplicity, affordability and beauty
Full Story
DECORATING GUIDESSo Your Style Is: Green
Way beyond a hue on a paint chip, green means a healthy home with a unique style designed around sustainability
Full Story
HOUZZ TOURSHouzz Tour: Just Being Modest on Lake Superior
You don’t have to go all-out to have a retreat that’s all good, this Wisconsin vacation home shows
Full Story
birdwidow
wildlifegardenermtOriginal Author
Related Professionals
East Rancho Dominguez Landscape Architects & Landscape Designers · Aurora Landscape Contractors · Deerfield Landscape Contractors · Eustis Landscape Contractors · Forest Hills Landscape Contractors · Huntley Landscape Contractors · Madera Landscape Contractors · Pikesville Landscape Contractors · York Landscape Contractors · Oxon Hill Landscape Contractors · Crowley Landscape Contractors · Bell Gardens Solar Energy Systems · Brentwood Los Angeles Solar Energy Systems · Chatsworth Solar Energy Systems · Sanger Solar Energy Systemstom_n_6bzone
birdwidow
wildlifegardenermtOriginal Author
tom_n_6bzone
birdwidow
tom_n_6bzone
wildlifegardenermtOriginal Author
tom_n_6bzone
stressbaby
tom_n_6bzone
Nell Jean
tom_n_6bzone
wildlifegardenermtOriginal Author
birdwidow
wildlifegardenermtOriginal Author
timf7
tom_n_6bzone
timf7
tom_n_6bzone
tom_n_6bzone
birdwidow
tom_n_6bzone
celestial
zacman44
wildlifegardenermtOriginal Author
maifleur01
bev_w
wildlifegardenermtOriginal Author
Sherwood Botsford (z3, Alberta)
tim_erehwonfarm_com
ontheteam
lazy_gardens
ontheteam
lazy_gardens
ontheteam