


Soaker Hose on a Timer?
CoDIY
18 years ago
Related Stories
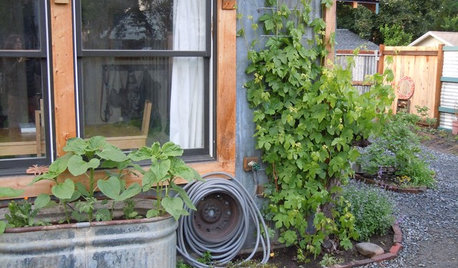
GARDENING GUIDESEdible Gardening Essentials: Tips for Traditional Hand Watering
Save the expense and hassle of a complicated garden system with a simple watering can or inexpensive hose add-ons
Full Story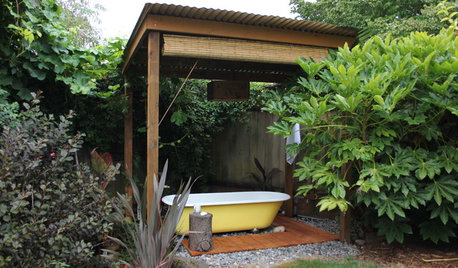
GARDENING AND LANDSCAPINGWhy Is There a Bathtub in the Backyard?
Nope, it's not waiting for bulk trash pickup. These days outdoor tubs are serving soakers, beer drinkers and even the fishes
Full Story
BATHROOM DESIGNDreaming of a Spa Tub at Home? Read This Pro Advice First
Before you float away on visions of jets and bubbles and the steamiest water around, consider these very real spa tub issues
Full Story
WINDOW TREATMENTSThe Art of the Window: Power Up With Motorized Treatments
We look at 11 spots in your home where automatic shades, screens, curtains and more make sense
Full Story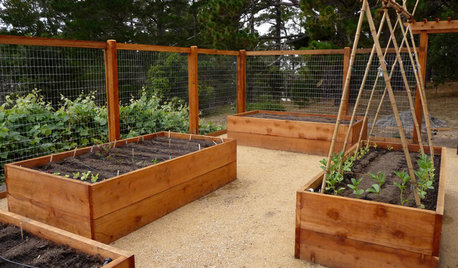
GARDENING GUIDESHow to Install a Drip Irrigation System
Save time and water with a drip watering system in your vegetable garden — a little patience now will pay off later
Full Story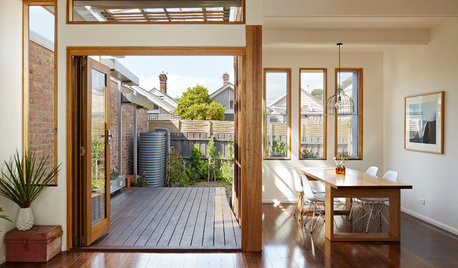
SAVING WATER11 Ways to Save Water at Home
Whether you live in a drought-stricken area or just want to help preserve a precious resource, here are things you can do to use less water
Full Story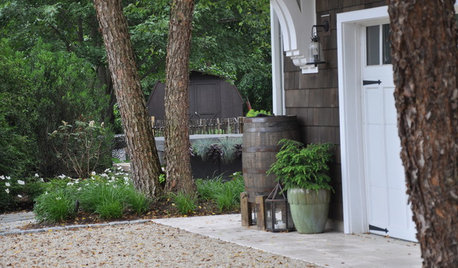
SAVING WATER6 Reasons Why You Should Save Your Rainwater Now
Collect and store during the rainy season so you’ll have water ready for irrigation when you need it
Full Story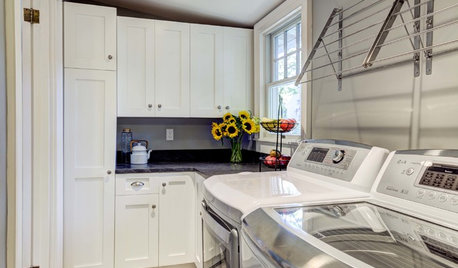
THE HARDWORKING HOMEWhere to Put the Laundry Room
The Hardworking Home: We weigh the pros and cons of washing your clothes in the basement, kitchen, bathroom and more
Full Story
BATHROOM DESIGN4 Secrets to a Luxurious Bathroom Look
Give your bathroom a finished feel with a few splurges and budget-stretching moves
Full Story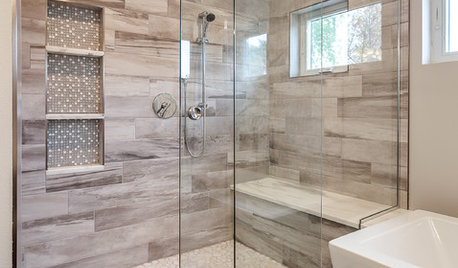
BATHROOM DESIGN10 Things to Consider Before Remodeling Your Bathroom
A designer shares her tips for your bathroom renovation
Full Story
abq_bob
CoDIYOriginal Author
Related Professionals
Newcastle Landscape Architects & Landscape Designers · Bainbridge Island Landscape Contractors · Barrington Landscape Contractors · Berkeley Heights Landscape Contractors · Brandon Landscape Contractors · Fort Mill Landscape Contractors · Goodlettsville Landscape Contractors · Lake Worth Landscape Contractors · Las Vegas Landscape Contractors · Long Branch Landscape Contractors · Mission Bend Landscape Contractors · Pleasanton Landscape Contractors · Round Lake Landscape Contractors · Sun City Center Landscape Contractors · Tuscaloosa Landscape Contractorsljrmiller
CoDIYOriginal Author
CoDIYOriginal Author
CoDIYOriginal Author