


Help on dirt background
noobtoterraiums
18 years ago
Sort by:Oldest
Comments (22)
Related Stories
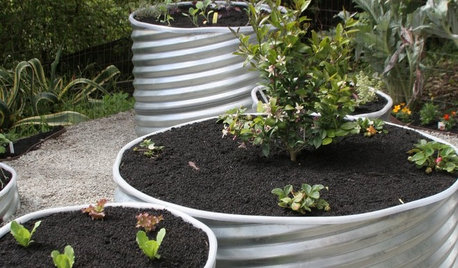
CONTAINER GARDENSContainer Gardening Basics: The Dirt on Soil
Learn the types of potting soil available and the best mixes to help your containers thrive
Full Story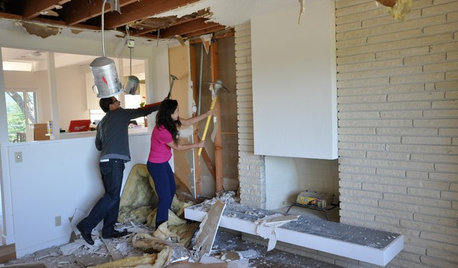
REMODELING GUIDESWisdom to Help Your Relationship Survive a Remodel
Spend less time patching up partnerships and more time spackling and sanding with this insight from a Houzz remodeling survey
Full Story
UNIVERSAL DESIGNMy Houzz: Universal Design Helps an 8-Year-Old Feel at Home
An innovative sensory room, wide doors and hallways, and other thoughtful design moves make this Canadian home work for the whole family
Full Story
GARDENING AND LANDSCAPINGGet the Dirt on Potting Benches
Possibly a gardener's best friend, potting benches have some surprising uses both outdoors and inside the home
Full Story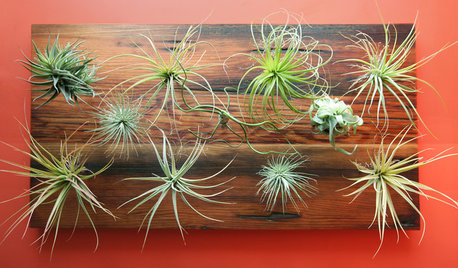
URBAN GARDENSDirt Optional: Amazing Air Plants for Wall or Tree
Succulents and air plants are stunning on winter walls — and the Christmas tree
Full Story

HOME TECHTurn 'Obsolete' Tech Into Fun Home Help
Here's how to put your old Mac, Atari or Newton to work around the house
Full Story
HOUZZ TOURSMy Houzz: 38 Years of Renovations Help Artists Live Their Dream
Twin art studios. Space for every book and model ship. After four decades of remodeling, this farmhouse has two happy homeowners
Full Story
HOUSEKEEPINGThree More Magic Words to Help the Housekeeping Get Done
As a follow-up to "How about now?" these three words can help you check more chores off your list
Full Story
BATHROOM MAKEOVERSRoom of the Day: See the Bathroom That Helped a House Sell in a Day
Sophisticated but sensitive bathroom upgrades help a century-old house move fast on the market
Full Story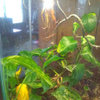
iliketerrariums
noobtoterraiumsOriginal Author
Related Professionals
Danbury Landscape Architects & Landscape Designers · La Marque Landscape Architects & Landscape Designers · Firestone Landscape Contractors · Fuquay-Varina Landscape Contractors · Ramsey Landscape Contractors · Altadena Fence Contractors · Northbrook Fence Contractors · Zion Fence Contractors · Muttontown Window Contractors · Avon Lake General Contractors · Bowling Green General Contractors · Browns Mills General Contractors · Gloucester City General Contractors · Las Cruces General Contractors · Valle Vista General Contractorsiliketerrariums
noobtoterraiumsOriginal Author
iliketerrariums
back2eight
noobtoterraiumsOriginal Author
back2eight
iliketerrariums
back2eight
iliketerrariums
noobtoterraiumsOriginal Author
deadhamster
back2eight
noobtoterraiumsOriginal Author
garyfla_gw
iliketerrariums
back2eight
noobtoterraiumsOriginal Author
iliketerrariums
tropichris
garyfla_gw