


could one of you kind souls please post a pic of ...
paul_
20 years ago
Sort by:Oldest
Comments (19)
Related Stories

TRIMShutter Cutouts: A Window to One's Soul?
To settle on the perfect shape for this simple detail, follow your heart — or diamond, or maple leaf
Full Story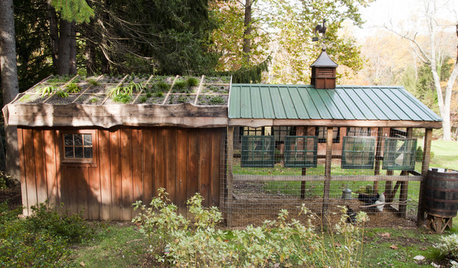
FARM YOUR YARDHouzz Call: Show Us Your One-of-a-Kind Chicken Coops
Do you have a fun or stylish backyard shelter for your feathered friends? Post your pictures and stories in the Comments!
Full Story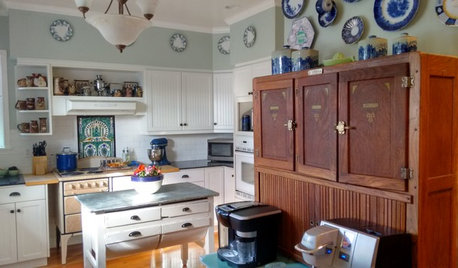
KITCHEN DESIGNKitchen Recipes: Secret Ingredients of 5 One-of-a-Kind Cooking Spaces
Learn what went into these cooks’ kitchens — and what comes out of them
Full Story
PETSWorld of Design: Pampered Pets and Their 10 One-of-a-Kind Homes
Fall in love with these critters and their clever living spaces, from a cat playground in France to a chicken house in the U.S.
Full Story
GARDENING AND LANDSCAPINGOne-of-a-Kind Ways With Planters
Bright colors, unusual shapes, unexpected uses ... these unique ideas for container plantings with personality may just grow on you
Full Story
MORE ROOMSOne-of-a-Kind Decor for Above the Bed
That Headboard Wall: It's the Perfect Spot for an Accent All Your Own
Full Story
DECORATING GUIDESBring in da Funk: How Humble Touches Give a Home Soul
Shake up expectations and stir up interest with pieces that show patina, create contrast or offer a jolt of surprise
Full Story
HOUZZ TV FAVORITESThese Spectacular Views of Fall Foliage Will Lift Your Soul
Soar over picturesque New England and Midwest landscapes to see glorious autumn scenes
Full Story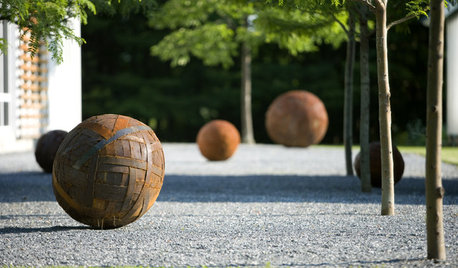
LANDSCAPE DESIGNWhat Kind of Gardener Are You? Find Your Archetype
Pick from our descriptions to create a garden that matches your personality and tells your story
Full Story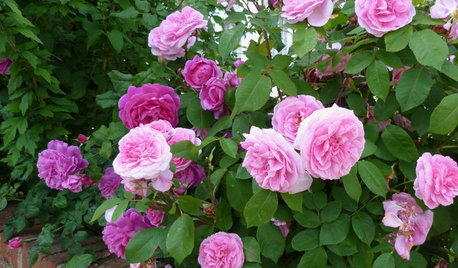
GARDENING GUIDESWhat Kind of Roses Should You Grow?
Want to add the beauty of roses to your garden? Find out which ones, from old-fashioned to modern, are right for you
Full Story
dravenxavier
sahoyaref
Related Professionals
Quincy Landscape Architects & Landscape Designers · Florham Park Landscape Contractors · Galt Landscape Contractors · Owings Mills Fence Contractors · Rutherford Fence Contractors · Santa Barbara Fence Contractors · Santa Maria Fence Contractors · Holly Hill Window Contractors · Opa Locka Window Contractors · Bound Brook General Contractors · Dunkirk General Contractors · Jefferson Valley-Yorktown General Contractors · Prichard General Contractors · River Edge General Contractors · Toledo General Contractorspaul_Original Author
mrbreeze
sahoyaref
sahoyaref
sahoyaref
ladybug_guam
nathanhurst
sahoyaref
nathanhurst
ladybug_guam
dragonthoughts
gawdly
nathanhurst
ladybug_guam
nathanhurst
gawdly
sahoyaref