


Container tomato PICs
bingster
16 years ago
Sort by:Oldest
Comments (139)
Related Stories

EDIBLE GARDENSSummer Crops: How to Grow Tomatoes
Plant tomato seedlings in spring for one of the best tastes of summer, fresh from your backyard
Full Story
ARCHITECTUREHouzz Tour: Fresh Ideas in a Former Tomato Packing Shed
A formerly metal-clad structure is now a beautiful wood home designed to capture the light and preserve open space
Full Story
COLOR10 Reasons to Make a Splash With Tomato Red
You won’t duck at these tomatoes. See how bold red shades can play up architecture, light up a dark spot and add drama
Full Story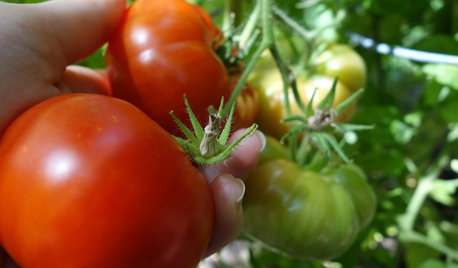
LIFEKitchen Traditions: Tomato Season Meets a Family Legacy
Somewhere a Sicilian great-great-grandmother is smiling at a bowl of American-made sauce
Full Story
CONTAINER GARDENS10 Ways to Take Containers Beyond the Patio
Enliven your landscape with pots and containers
Full Story
FARM YOUR YARDHow to Grow Vegetables in Containers
Get glorious vegetables and fruits on your patio with a pro’s guidance — including his personal recipe for potting mix
Full Story
FARM YOUR YARD10 Easy Edibles to Grow in Containers
These herbs, vegetables and fruits are just as happy in a pot as they are in the ground
Full Story
CONTAINER GARDENS3 Steps to Creating Quick, Easy and Colorful Succulent Containers
Take a bright container, add a colorful succulent or two and have a professional, summery design in minutes
Full Story
URBAN GARDENSContainers Make Growing Edibles a Cinch
If life hands you a lack of land, grow lemons — with a few basics, you can proudly reap the fruits, veggies and herbs of your labor
Full Story
CONTAINER GARDENS7 Deer-Resistant Flowers for Your Summer Containers
Grow these as protection for edibles or just for their colorful beauty — deer might not like them, but everyone else will
Full StoryMore Discussions
bingsterOriginal Author
rnewste
Related Professionals
New Mexico Landscape Architects & Landscape Designers · Manchester Landscape Contractors · Beverly Hills Landscape Contractors · Deerfield Beach Landscape Contractors · Harrisburg Landscape Contractors · Maywood Landscape Contractors · Woodland Landscape Contractors · San Pablo Landscape Contractors · The Crossings General Contractors · Evans General Contractors · Fort Salonga General Contractors · Vincennes General Contractors · West Babylon General Contractors · Tysons Corner Stone, Pavers & Concrete · North Aurora Decks, Patios & Outdoor Enclosuresits_kristy
timmy1
rnewste
rnewste
grb1
grb1
grb1
its_kristy
rnewste
its_kristy
rnewste
grb1
dyna1958
rnewste
tomatod
dennisj550
dyna1958
elskunkito
iyengar21
steve8855
its_kristy
dyna1958
its_kristy
rnewste
rnewste
dyna1958
its_kristy
jjs7741
rnewste
its_kristy
woodcutter2008
timmy1
rnewste
dennisj550
rnewste
fc2grimm
witthawg
rnewste
witthawg
rnewste
wyndell
bdobs
bdobs
rnewste
bdobs
rnewste
bdobs
keeks01