


My topiary Teddy Bears.
Nandina - 8b
23 years ago
Sort by:Oldest
Comments (10)
Related Stories
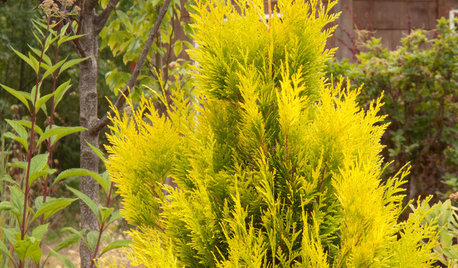
FOLIAGEGreat Design Plant: 'Forever Goldie' Arborvitae
As soft as a teddy bear, this golden conifer adds year-round interest to the garden
Full Story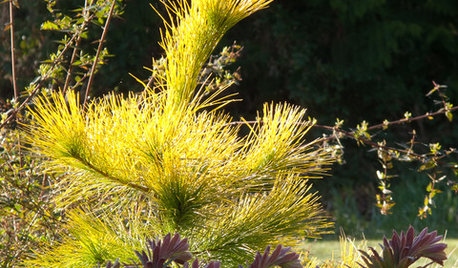
GARDENING GUIDESGreat Design Plant: Louie Eastern White Pine
This stunning golden conifer will bring a smile to your face and add a ray of sunshine to your winter garden
Full Story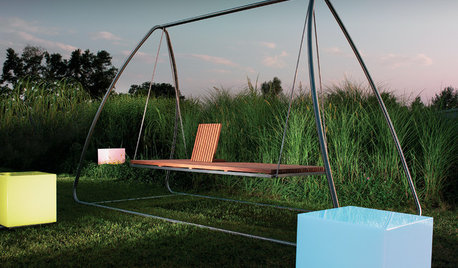
SHOP HOUZZShop Houzz: In a Different Light
Set off your surroundings with quirky, innovative and unexpected lighting
Full Story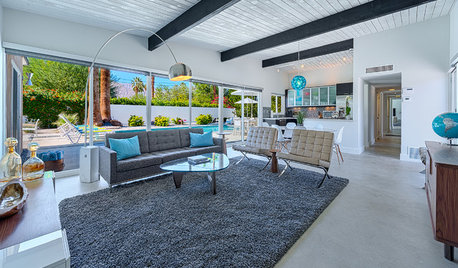
SHOP HOUZZShop Houzz: Palm Springs Style
This resort town knows how to make a statement — think California modern with a fun and fashionable twist
Full Story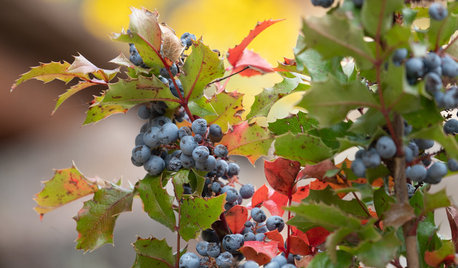
GARDENING GUIDES8 Deer-Resistant Elegant Evergreen Shrubs to Plant This Fall
Who knew that such beautiful shrubs could be deer-resistant?
Full Story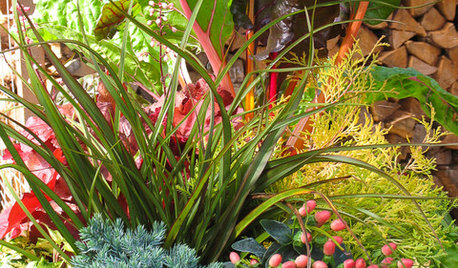
PLANTING IDEASStretch the Budget, Seasons and Style: Add Conifers to Your Containers
Small, low-maintenance conifers are a boon for mixed containers — and you can transplant them to your garden when they’ve outgrown the pot
Full Story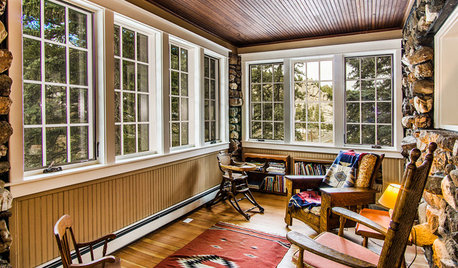
PORCHESRoom of the Day: A Colorado Porch for Year-Round Enjoyment
New windows, insulation and other upgrades turn this sun porch on a 1914 stone house into a 4-season room
Full Story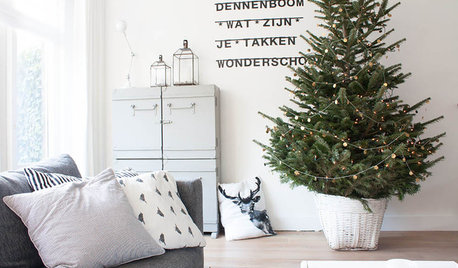
HOLIDAYSHouzz Call: Show Us Your Christmas Tree!
How lovely are your branches? Post a picture and share your stories
Full Story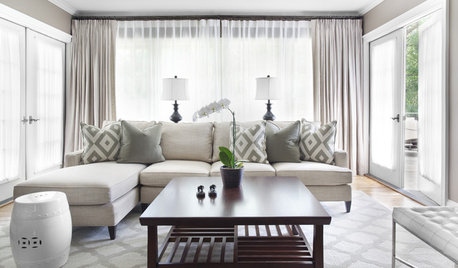
ACCESSORIESTo Chop or Not to Chop?
Karate-chopped pillows pop up in design photos all the time — to the delight of some, the dismay of others. Here's why
Full Story
FUN HOUZZThe Unicorn in the Bathtub — and Other Mind-Blowing Sights
Fantasy and reality meet head-on in photos of costume fans in their own homes
Full Story
michelle derviss - the green zone
michelle derviss - the green zone
Related Professionals
Allen Landscape Architects & Landscape Designers · Benbrook Landscape Architects & Landscape Designers · Cary Landscape Architects & Landscape Designers · Taylorsville Landscape Architects & Landscape Designers · Alpharetta Landscape Contractors · Gurnee Landscape Contractors · Hicksville Landscape Contractors · Panama City Beach Landscape Contractors · West Coon Rapids Landscape Contractors · Golden Valley Landscape Contractors · Riverside Driveway Installation & Maintenance · Houston Window Contractors · Tucson Window Contractors · Indian Creek Window Contractors · Opa Locka Window Contractorskari
KAYE - 6
Nandina - 8bOriginal Author
mark
Colleen - washington state
Nandina - 8bOriginal Author
candi 12
Dan Zone7NJ