


How do you harvest?
dancer291
13 years ago
Sort by:Oldest
Comments (14)
Related Stories
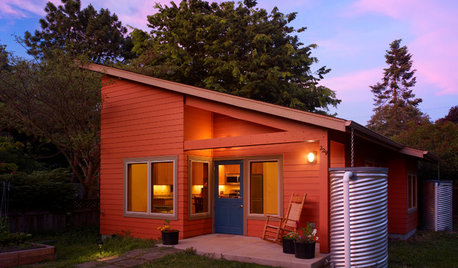
GREEN BUILDINGHow to Harvest Rainwater for Your Garden
Conserve a vital resource and save money by collecting stormwater for irrigation in a barrel or tank
Full Story
GARDENING AND LANDSCAPINGWorld of Design: 10 Home Gardeners Show Us Their Sweet Summer Harvests
From New York to Tokyo, these gardeners have turned their yards, terraces and rooftops into places of bounty
Full Story
SHOP HOUZZShop Houzz: Autumn Harvest Decor
Celebrate the fruits of your labor, decorate for fall and dance under the harvest moon
Full Story0

URBAN GARDENSHarvest the Bounty of a Patio Garden
Make the most of small spaces on decks and balconies to enjoy your pick of vegetables, fruits and herbs
Full Story
DECORATING GUIDESHarvest Farmhouse Style to Freshen a Fall Home
Reap the reward of a wholesome feel when you infuse your home with farmhouse colors, furnishings and accessories
Full Story
SHOP HOUZZShop Houzz: The Warm Harvest Hues Sale
Bring fall’s favorite colors home with versatile furnishings, pillows, decor and more
Full Story0

SHOP HOUZZShop Houzz: Harvesting Summer’s Bounty
It's last call for saving this season’s best fruit and vegetables. Are you ready?
Full Story0

DECORATING GUIDESDecorate With Autumn's Best
Cozy up with a home decorated with reminders of harvest season
Full Story
SHOP HOUZZHouzz Products: Say ‘Prost’ to Oktoberfest
Celebrate the harvest season Bavarian-style with steins of beer, sausages and rustic pieces — plus 2 party recipes
Full Story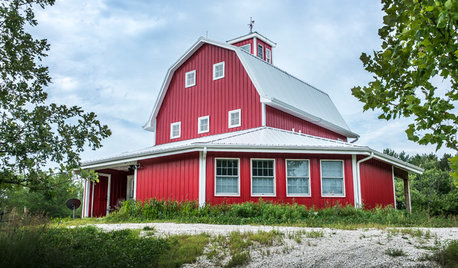
BARN HOMESHouzz Tour: An Energy-Efficient Barn Graces the Nebraska Landscape
Passive-house technologies and a rain-harvesting and greywater system conserve natural resources in this weekend country home
Full StorySponsored
More Discussions
equinoxequinox
goudananda
Related Professionals
Kenmore Landscape Architects & Landscape Designers · Tomball Landscape Architects & Landscape Designers · Amesbury Landscape Contractors · Choctaw Landscape Contractors · Cordele Landscape Contractors · New Berlin Landscape Contractors · Webster Groves Landscape Contractors · North Hills Landscape Contractors · Decatur General Contractors · Halfway General Contractors · Keene General Contractors · Kilgore General Contractors · Makakilo General Contractors · Mankato General Contractors · Wallington General Contractorsjoe.jr317
equinoxequinox
curt_grow
xavier555
courtcourt
TexasRedWorm
equinoxequinox
flyingfish2
diggerjones
susanfromhawaii
morgan_3
11otis