


Would like advice before killing 3rd pound of worms...
lemontwist
14 years ago
Sort by:Oldest
Comments (13)
Related Stories
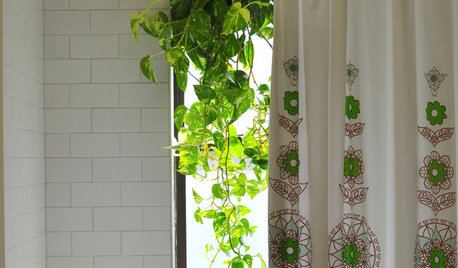
MOST POPULARThe Perfect Houseplant for People Who Kill Houseplants
If you can fill a jar with water, you can keep golden pothos vine happy — and it will pay you back with cleaner air and a greener home
Full Story
GARDENING GUIDESHouzz TV: Make a Worm Bin for Rich Soil and Happy Plants
A worm-powered compost bin that can fit under a sink turns food scraps into a powerful amendment for your garden. Here’s how to make one
Full Story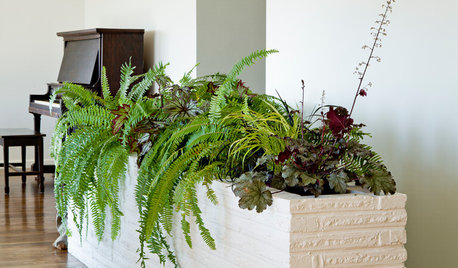
HOUSEPLANTS8 Houseplants You Can't Kill
They're forgiving and let you forget. Houseplants don't get any easier than this
Full Story
LIFEGet the Family to Pitch In: A Mom’s Advice on Chores
Foster teamwork and a sense of ownership about housekeeping to lighten your load and even boost togetherness
Full Story
LIFEEdit Your Photo Collection and Display It Best — a Designer's Advice
Learn why formal shots may make better album fodder, unexpected display spaces are sometimes spot-on and much more
Full Story
DECORATING GUIDES10 Design Tips Learned From the Worst Advice Ever
If these Houzzers’ tales don’t bolster the courage of your design convictions, nothing will
Full Story
HEALTHY HOMEHow to Childproof Your Home: Expert Advice
Safety strategies, Part 1: Get the lowdown from the pros on which areas of the home need locks, lids, gates and more
Full Story
FARM YOUR YARDAdvice on Canyon Farming From L.A.'s Vegetable Whisperer
See how a screened garden house and raised beds help an edible garden in a Los Angeles canyon thrive
Full Story
PETSWhat You Need to Know Before Buying Chicks
Ordering chicks for your backyard coop? Easy. But caring for them requires planning and foresight. Here's what to do
Full Story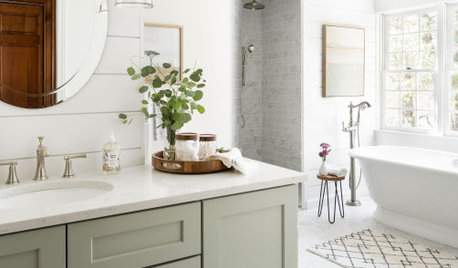
BATHROOM DESIGN14 Design Tips to Know Before Remodeling Your Bathroom
Learn a few tried and true design tricks to prevent headaches during your next bathroom project
Full StoryMore Discussions
melenkolee
Katxena
Related Professionals
West Milford Landscape Architects & Landscape Designers · New Mexico Landscape Architects & Landscape Designers · Panama City Landscape Architects & Landscape Designers · Middletown Landscape Contractors · Belmont Landscape Contractors · Bristol Landscape Contractors · Kettering Landscape Contractors · Palos Verdes Estates Landscape Contractors · Weymouth Landscape Contractors · Forest Hill Landscape Contractors · Jeffersonville General Contractors · Jericho General Contractors · Makakilo General Contractors · Parkville General Contractors · Woodmere General Contractorsmwudan
curt_grow
rickd59
plumiebear
fam62cc
bob17257
sbryce_gw
equinoxequinox
fam62cc
maryld_gardener
maryld_gardener