


Heated worm bin
plumiebear
14 years ago


Sort by:Oldest
Comments (23)
Related Stories

GARDENING GUIDESHouzz TV: Make a Worm Bin for Rich Soil and Happy Plants
A worm-powered compost bin that can fit under a sink turns food scraps into a powerful amendment for your garden. Here’s how to make one
Full Story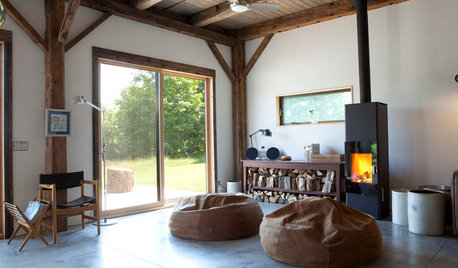
GREEN BUILDINGInsulation Basics: Heat, R-Value and the Building Envelope
Learn how heat moves through a home and the materials that can stop it, to make sure your insulation is as effective as you think
Full Story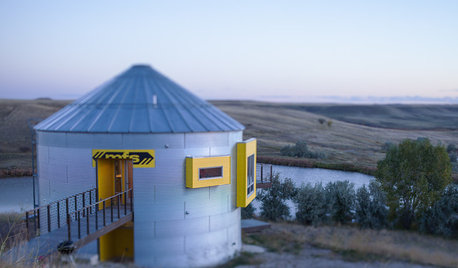
HOUZZ TOURSHouzz Tour: Prairie Grain Bin Turned Bucolic Retirement Home
An agrarian structure and a big dream combine in this one-of-a-kind home that celebrates 250 acres of Montana grasslands
Full Story
DECORATING GUIDESCold-Weather Sports Gear Heats Up Interiors
Skis, snowshoes and other wintertime sports equipment pieces are sliding off the slopes and into the home
Full Story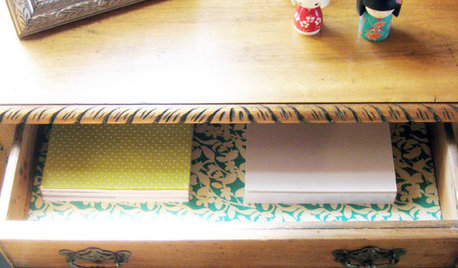
DECORATING GUIDES10 Ways to Reuse Wrapping Paper
Don't just toss your prettiest paper in the trash or recycling bin — gift wrap scraps can make wonderful home decor
Full Story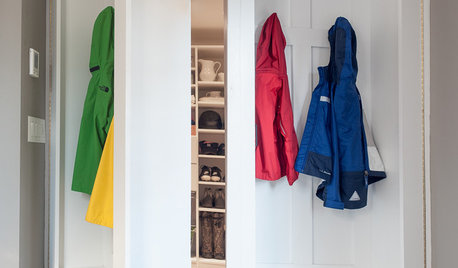
MUDROOMSRoom of the Day: This Mudroom Is Just Plain Hot
Wait till you see what’s behind the hooks and bins in this genius family drop zone
Full Story
GARDENING GUIDESTexas Gardener's June Checklist
Win the battle against heat and drought with these plant picks and extra effort, for a garden that reigns supreme in summer
Full Story
PRODUCT PICKSGuest Picks: Get Antiques-Fair Style Right From Home
Spare yourself the crowds and heat of Antique Weekend in Texas by picking up these similar-style finds online
Full Story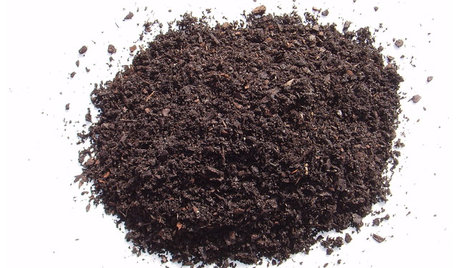
GARDENING GUIDESGet on a Composting Kick (Hello, Free Fertilizer!)
Quit shelling out for pricey substitutes that aren’t even as good. Here’s how to give your soil the best while lightening your trash load
Full Story
FIREPLACESUpdated Woodstoves Keep Home Fires Burning
Better technology means more efficiency than ever for modern woodstoves
Full StorySponsored
Columbus Design-Build, Kitchen & Bath Remodeling, Historic Renovations
More Discussions
marauder01
mendopete
Related Professionals
Arlington Landscape Architects & Landscape Designers · Ballenger Creek Landscape Architects & Landscape Designers · East Rancho Dominguez Landscape Architects & Landscape Designers · Salem Landscape Architects & Landscape Designers · Garden City Landscape Architects & Landscape Designers · Annandale Landscape Contractors · Bainbridge Island Landscape Contractors · Byram Landscape Contractors · El Segundo Landscape Contractors · Lynchburg Landscape Contractors · Wallingford Landscape Contractors · Channelview General Contractors · Jacksonville General Contractors · Olney General Contractors · Shaker Heights General ContractorsplumiebearOriginal Author
Katxena
plumiebearOriginal Author
singleton165
plumiebearOriginal Author
singleton165
plumiebearOriginal Author
grower54
Shaul
plumiebearOriginal Author
Shaul
sparkett788
Shaul
plumiebearOriginal Author
leearnold
plumiebearOriginal Author
sparkett788
plumiebearOriginal Author
sparkett788
Shaul
plumiebearOriginal Author