


Make a worm bag from an old backpack?
pkon
12 years ago
Related Stories

GARDENING GUIDESHouzz TV: Make a Worm Bin for Rich Soil and Happy Plants
A worm-powered compost bin that can fit under a sink turns food scraps into a powerful amendment for your garden. Here’s how to make one
Full Story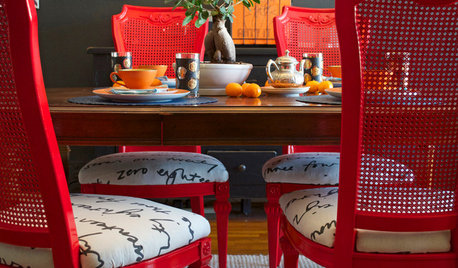
DIY PROJECTSDining Set Makeover: Paint and Tea-Tinted Fabric Make Old Chairs New
Reclaim dated dining chairs for far less than buying new, using spray paint, modern fabric and a handful of tea bags
Full Story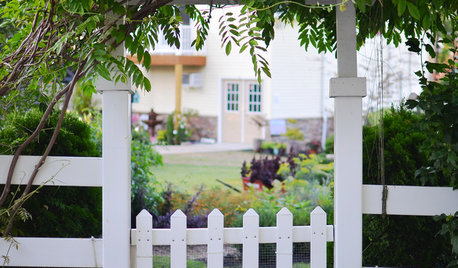
BUDGET DECORATING14 Ways to Make More Money at a Yard Sale — and Have Fun Too
Maximize profits and have a ball selling your old stuff, with these tips to help you plan, advertise and style your yard sale effectively
Full Story
THE HARDWORKING HOMEHow to Design a Marvelous Mudroom
Architects and designers tell us how to set up one of the toughest rooms in the house
Full Story
LAUNDRY ROOMSMake a Clean Break With Laundry Chaos
Bins and bags, sorters and other storage — we've got several loads' worth of ways to keep your laundry neat
Full Story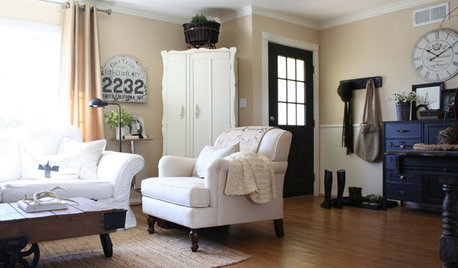
ENTRYWAYSHow to Make the Most of Your Entry (No Coat Closet Required)
A well-designed foyer offers storage, seating and other features to help you get out the door on time and looking good
Full Story
FALL AND THANKSGIVINGFall Decorating Ideas From a Designer to the Stars
You might think all-out glitz and over-the-top glamour make up Adam Hunter's fall decorations. You'd be wrong
Full Story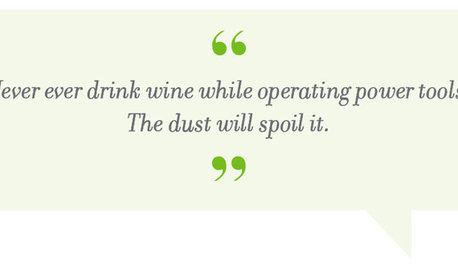
MOST POPULARSo You Say: 30 Design Mistakes You Should Never Make
Drop the paint can, step away from the brick and read this remodeling advice from people who’ve been there
Full Story
TRAVEL BY DESIGN10 Ideas for Packable Decor From Your Travels
It's fun to decorate with finds from a trip — but not so fun to lug them home. These ideas are affordable and easy on the suitcase
Full Story
HOMES AROUND THE WORLDHousehold Habits and Customs to Borrow From Other Countries
Discover why salt may be the perfect house-warming gift, how to clean rugs in snow and why you should invest in a pair of ‘toilet slippers’
Full Story
equinoxequinox
boreal_wormer
Related Professionals
Holly Springs Landscape Architects & Landscape Designers · Richmond Heights Landscape Architects & Landscape Designers · Suffern Landscape Architects & Landscape Designers · Surprise Landscape Contractors · East Patchogue Landscape Contractors · Florham Park Landscape Contractors · Inglewood Landscape Contractors · Methuen Landscape Contractors · Seymour Landscape Contractors · Norridge Landscape Contractors · Winchester Center Stone, Pavers & Concrete · Bloomington General Contractors · Channelview General Contractors · Claremont General Contractors · Marysville General ContractorspkonOriginal Author
pkonOriginal Author
PeterK2
equinoxequinox
mr_yan
pkonOriginal Author
pkonOriginal Author
mendopete
shitzandwiggles