


Vermicompost as Germination Mix
morgan_3
12 years ago
Related Stories

FARM YOUR YARDHow to Grow Vegetables in Containers
Get glorious vegetables and fruits on your patio with a pro’s guidance — including his personal recipe for potting mix
Full Story
GARDENING GUIDESHouzz TV: Make a Worm Bin for Rich Soil and Happy Plants
A worm-powered compost bin that can fit under a sink turns food scraps into a powerful amendment for your garden. Here’s how to make one
Full Story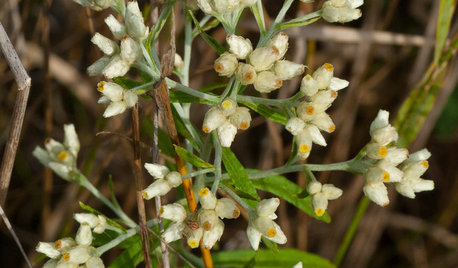
GARDENING GUIDESGreat Design Plant: Pseudognaphalium Obtusifolium, or Rabbit Tobacco
This late-blooming native annual, also known as sweet everlasting, adds spontaneity to landscapes in the eastern United States
Full Story
GARDENING GUIDESUnleash Your Guerilla Gardener
Toss some seed bombs around the yard for easy, beneficial plantings
Full Story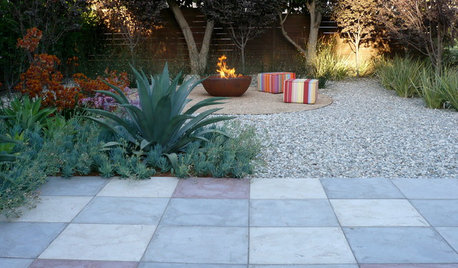
MATERIALSPrecast Concrete Pavers Make a Versatile Surface in the Garden
You can use concrete pavers in a variety of shapes and colors for your patio, walkway, driveway and more
Full Story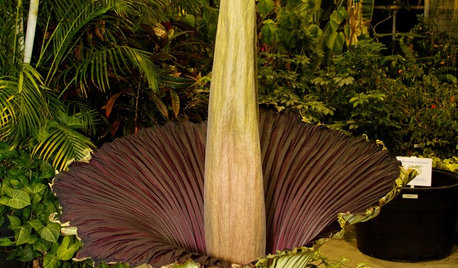
FUN HOUZZSmell This Shocking Flower at Your Own Risk
Don't say we didn't warn you: The foul scent of the rare and incredible corpse flower may knock your socks off
Full Story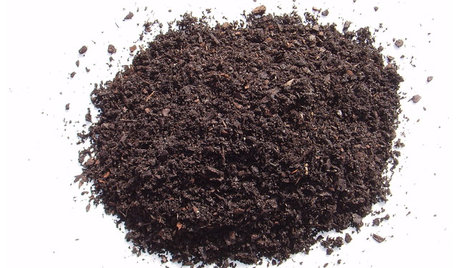
GARDENING GUIDESGet on a Composting Kick (Hello, Free Fertilizer!)
Quit shelling out for pricey substitutes that aren’t even as good. Here’s how to give your soil the best while lightening your trash load
Full Story
HEALTHY HOME6 Tips From a Nearly Zero-Waste Home
Lower your trash output and increase your quality of life with these ideas from a mom who did it to the max
Full Story
GARDENING GUIDESGarden Myths to Debunk as You Dig This Fall and Rest Over Winter
Termites hate wood mulch, don’t amend soil for trees, avoid gravel in planters — and more nuggets of garden wisdom
Full Story
GARDENING GUIDESHow to Plant a New Lawn From Sod
Take the quick-start route to turf with sod; these installation guidelines will help ensure a healthy and long-lasting lawn
Full StoryMore Discussions
ralleia
morgan_3Original Author
Related Professionals
Brentwood Landscape Architects & Landscape Designers · Ilchester Landscape Architects & Landscape Designers · Redondo Beach Landscape Architects & Landscape Designers · Simi Valley Landscape Architects & Landscape Designers · Buford Landscape Contractors · Arlington Landscape Contractors · Fair Oaks Landscape Contractors · Middletown Landscape Contractors · Peachtree City Landscape Contractors · Peoria Landscape Contractors · Pine Hills Landscape Contractors · Tehachapi Landscape Contractors · Cibolo General Contractors · Forest Hills General Contractors · Plano General Contractorsralleia
morgan_3Original Author
tobytub
morgan_3Original Author