


Getting started
scottymam
14 years ago
Sort by:Oldest
Comments (12)
Related Stories

HOUSEPLANTSHow to Grow Orchids Indoors
Orchids are the exotic aristocrats of the flower world and can make themselves comfortable in almost any home
Full Story
GREAT HOME PROJECTSConsidering Wallpaper? Here's How to Get Started
New project for a new year: Give your room a whole new look with the color, pattern and texture of a wall covering
Full Story
GARDENING GUIDES6 Steps to Get a Garden Off to a Glowing Start
Grow a lush, balanced garden from an empty patch of yard or neglected landscape spot with these easy-to-follow guidelines
Full Story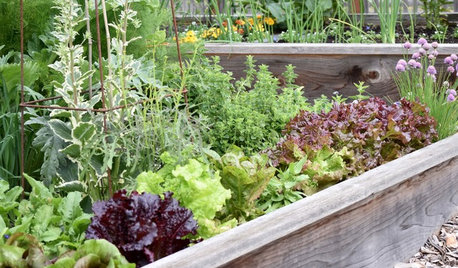
GARDENING GUIDESSeeds or Seedlings? How to Get Your Garden Started
Growing delicious herbs and vegetables starts with knowing your goals and when you want to plant
Full Story
TRADITIONAL HOMESHouzz Tour: Family Gets a Fresh Start in a Happy New Home
Decorating her house from scratch spurs a big career change for this designer
Full Story
GARDENING GUIDESGet a Head Start on Planning Your Garden Even if It’s Snowing
Reviewing what you grew last year now will pay off when it’s time to head outside
Full Story
HOUZZ TOURSHouzz Tour: A Texas Home Gets a Healthy, Fresh Start
Mold eradication was just the beginning for this Austin family's home on a creek bed — toxins of all kinds now don't make it past the door
Full Story
DECORATING GUIDESHow to Decorate When You're Starting Out or Starting Over
No need to feel overwhelmed. Our step-by-step decorating guide can help you put together a home look you'll love
Full Story
INSIDE HOUZZInside Houzz: Starting From Scratch in a Manhattan Apartment
Even no silverware was no sweat for a Houzz pro designer, who helped a globe-trotting consultant get a fresh design start
Full Story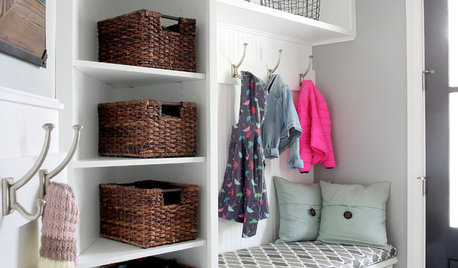
MOST POPULAROrganized From the Start: 8 Smart Systems for Your New House
Establishing order at the outset will help prevent clutter from getting its foot in the door
Full StoryMore Discussions
sbryce_gw
rickd59
Related Professionals
Severn Landscape Architects & Landscape Designers · Avocado Heights Landscape Contractors · Bell Gardens Landscape Contractors · Clayton Landscape Contractors · East Patchogue Landscape Contractors · El Reno Landscape Contractors · Huntington Landscape Contractors · Kahului Landscape Contractors · Mount Kisco Landscape Contractors · San Pablo Landscape Contractors · Tysons Corner Stone, Pavers & Concrete · Hermitage General Contractors · San Marcos General Contractors · Williston General Contractors · Security-Widefield General Contractorsrookie09
sbryce_gw
plumiebear
rickd59
plumiebear
Sandra Tran
rickd59
plumiebear
scottymamOriginal Author
rickd59