


Kelly's bin design???
doggonegardener
16 years ago
Sort by:Oldest
Comments (2)
Related Stories
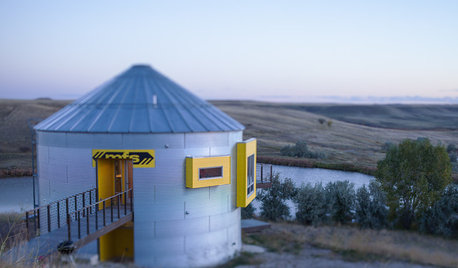
HOUZZ TOURSHouzz Tour: Prairie Grain Bin Turned Bucolic Retirement Home
An agrarian structure and a big dream combine in this one-of-a-kind home that celebrates 250 acres of Montana grasslands
Full Story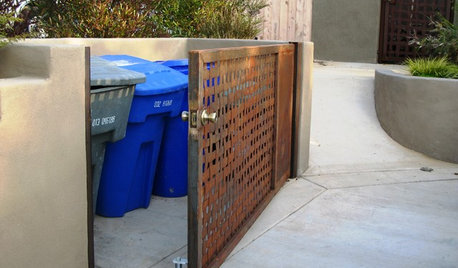
GARDENING AND LANDSCAPINGLet's Talk Trash Bins
No one gazes fondly on garbage cans. Keep your street cred intact and your bins under wraps with these camouflage solutions
Full Story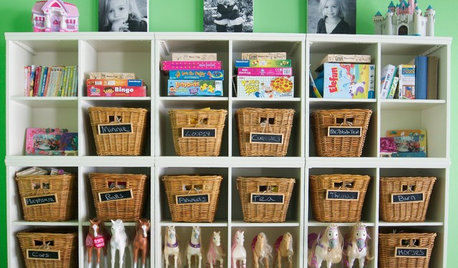
DECLUTTERINGTame the Toy Chaos: Bin Storage for All
New project for a new year: With bins, totes and shelves, a clutter-free playroom can be yours
Full Story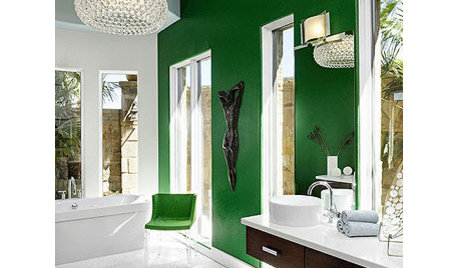
DECORATING GUIDESPut a Spring in Your Home's Step With Kelly Green
Why should foliage have all the fun? Bring vibrant kelly green inside to energize your interior designs.
Full Story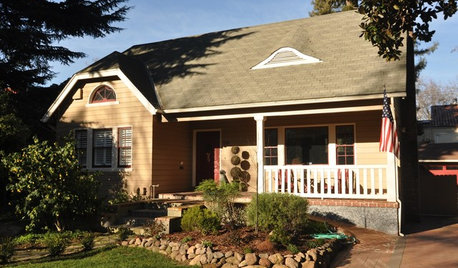
HOUZZ TOURSHouzz Tour: Kerrie Kelly's California Style
Glimpse Inside the Interior Designer's Vintage Modern Bungalow
Full Story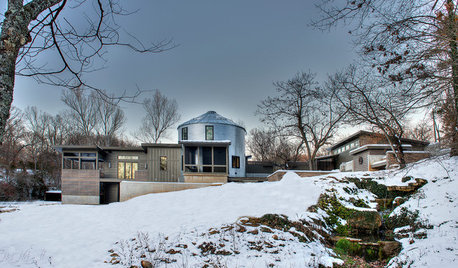
INDUSTRIAL STYLEHouzz Tour: Going Against the Grain in a Missouri Silo
See how a creative couple turned a metal grain bin into a most unusual container for living
Full Story
COLORColor of the Week: Kelly Green
Bring the luck of the Irish into your home with a small splash of this verdant hue
Full Story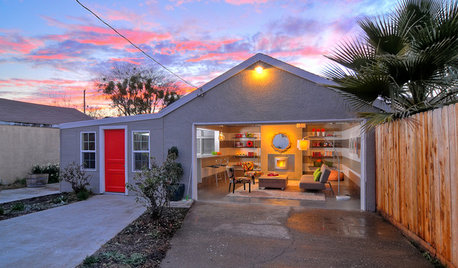
MORE ROOMSBehind a Garage Door, a Family Fun Room
Designer Kerrie Kelly's secrets to this low-budget garage makeover: a soothing palette, horizontal stripes and dashes of color
Full Story
KITCHEN DESIGNPet-Friendly Design: Making Room for the Dog Dish
In a dog’s life, you eat on the floor. Except in kitchens like these, where pets are factored into the design
Full Story
DECORATING GUIDES10 Popular Home Design Trends — Timely or Timeless?
Weigh in on whether these of-the-moment decorating elements will have staying power or become a memory of these times
Full Story
lkittle
doggonegardenerOriginal Author
Related Professionals
Middletown Landscape Contractors · Blue Springs Landscape Contractors · Columbine Landscape Contractors · Cudahy Landscape Contractors · Fairview Landscape Contractors · Kahului Landscape Contractors · Newnan Landscape Contractors · Peoria Landscape Contractors · Pikesville Landscape Contractors · Pueblo West Landscape Contractors · East Norriton Landscape Contractors · Goodlettsville General Contractors · Cedar Hill General Contractors · Los Alamitos General Contractors · Avenal General Contractors