


Worm Castings
mbetts
15 years ago
Related Stories

GARDENING GUIDESHouzz TV: Make a Worm Bin for Rich Soil and Happy Plants
A worm-powered compost bin that can fit under a sink turns food scraps into a powerful amendment for your garden. Here’s how to make one
Full Story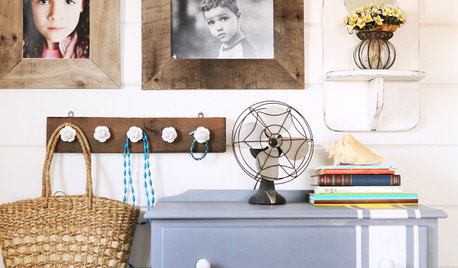
DIY PROJECTSTurn a Wooden Pallet Into Unique Photo Frames
Free wood? We're so in. Salvage a pallet or other cast-off wood to make delightfully distressed frames that fit almost any decor
Full Story
FARM YOUR YARDHow to Grow Vegetables in Containers
Get glorious vegetables and fruits on your patio with a pro’s guidance — including his personal recipe for potting mix
Full Story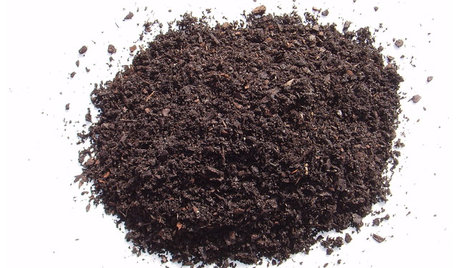
GARDENING GUIDESGet on a Composting Kick (Hello, Free Fertilizer!)
Quit shelling out for pricey substitutes that aren’t even as good. Here’s how to give your soil the best while lightening your trash load
Full Story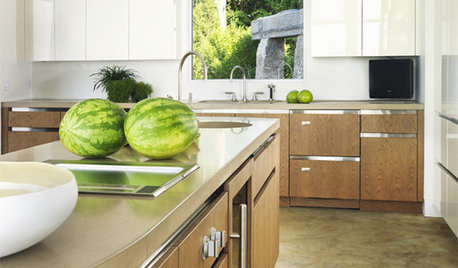
EDIBLE GARDENSSummer Crops: How to Grow Watermelons
You might not need as much space as you think to get this summer mainstay to spring up in your garden
Full Story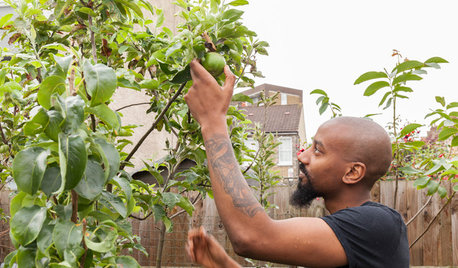
GARDENING GUIDESLush, Foodie Abundance in a Small Urban Garden
This modest backyard garden provides its owner with fruit and vegetables all year round, thanks to an innovative low-maintenance approach
Full Story
HOUSEPLANTSMeet a Palm That's Fine With Fluorescent Light
Get the look of the tropics without the full-on sun and high humidity — parlor palm tolerates regular indoor conditions with aplomb
Full Story
GARDENING GUIDESGarden Myths to Debunk as You Dig This Fall and Rest Over Winter
Termites hate wood mulch, don’t amend soil for trees, avoid gravel in planters — and more nuggets of garden wisdom
Full Story
URBAN GARDENSContainers Make Growing Edibles a Cinch
If life hands you a lack of land, grow lemons — with a few basics, you can proudly reap the fruits, veggies and herbs of your labor
Full Story
More Discussions
Jasdip
joe.jr317
Related Professionals
West Milford Landscape Architects & Landscape Designers · Chesapeake Ranch Estates Landscape Contractors · Fort Myers Landscape Contractors · Hannibal Landscape Contractors · Lake Worth Landscape Contractors · Midland Landscape Contractors · Oak Forest Landscape Contractors · Rockville Landscape Contractors · Soddy Daisy Landscape Contractors · Maplewood Landscape Contractors · Galena Park General Contractors · Amarillo General Contractors · La Grange Park General Contractors · Nampa General Contractors · Wyomissing General Contractorscats39
mbettsOriginal Author
Jasdip
Anisten
fosteem1
joe.jr317
Anisten