


Upsizing
alabamanicole
14 years ago
Related Stories
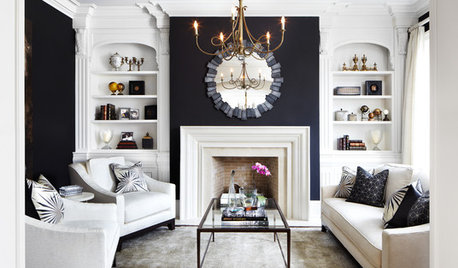
LIVING ROOMSLove Your Living Room: Upsize a Small Space
Learn clever decorating tricks for giving your living room a more spacious feel and a bigger personality
Full Story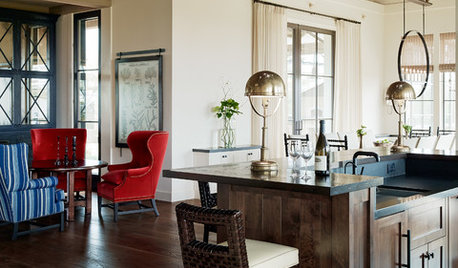
TRANSITIONAL HOMESHouzz Tour: A Family Home for Empty Nesters
After their last child moved out, this couple upsized to accommodate grandchildren and the rest of their extended clan
Full Story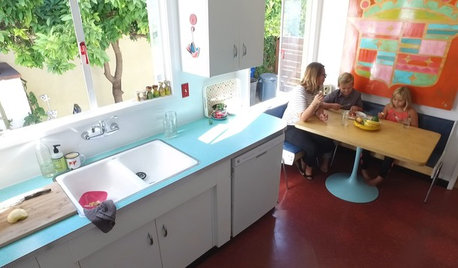
HOUZZ TOURSHouzz TV: Kids, Avocados and Happy 1950s Style
A homeschooling family turns to DIY projects and multipurpose spaces to make the most of their California ranch house
Full Story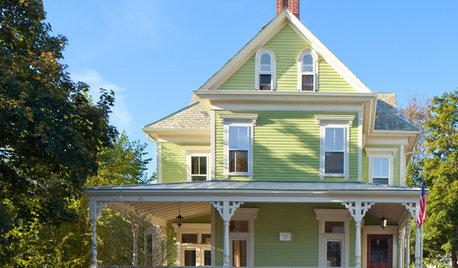
TRADITIONAL HOMESHouzz Tour: Redo Shines Light on 19th-Century Newport Beauty
The renovated Rhode Island home boasts gorgeous woodwork, an appealing wraparound porch and a newly spacious kitchen
Full Story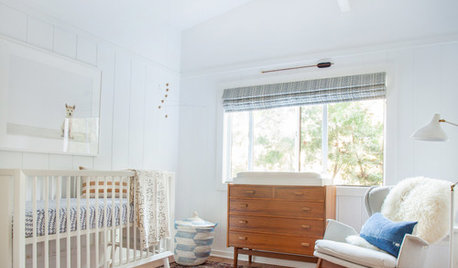
KIDS’ SPACESRoom of the Day: From Dark Walk-in Closet to Bright and Warm Nursery
A mix of vintage and new decor creates a stylish nursery that will grow with a baby boy
Full Story
HOUZZ TOURSMy Houzz: A Growing Family Embraces a ’70s Rental
A creative duo put their stamp on a ’70s apartment and settle in for the long haul
Full Story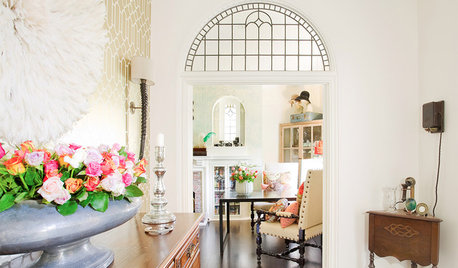
DECORATING GUIDESHouzz Tour: Arts and Crafts Cottage Gets a Lively Remake
An interior designer uses color, light and historical touches to brighten up a 1920s Sydney home
Full Story
BEDROOMSRoom of the Day: Master Bedroom Makeover on a Lean Budget
Creative use of online retailers helps transform a lackluster room into a light and beautifully finished space
Full Story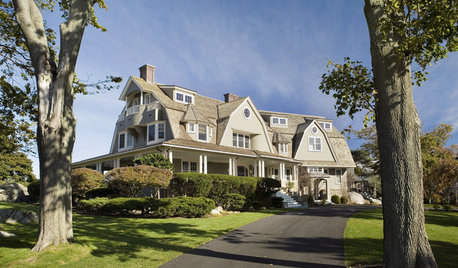
LIFEA Quick Downsizing Quiz for the Undecided
On the fence about downsizing? We help you decide whether that fencing should encircle a mansion or a mini trailer
Full Story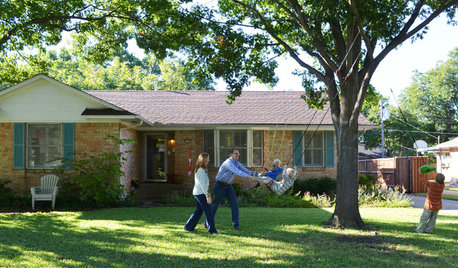
MOVINGHouse Hunting: Find Your Just-Right Size Home
Learn the reasons to go bigger or smaller and how to decide how much space you’ll really need in your next home
Full StoryMore Discussions
cheelo
11otis
Related Professionals
Allentown Landscape Architects & Landscape Designers · Montgomeryville Landscape Architects & Landscape Designers · Canton Landscape Contractors · Goodyear Landscape Contractors · Hayward Landscape Contractors · Huntley Landscape Contractors · Kahului Landscape Contractors · Lemoore Landscape Contractors · Alhambra General Contractors · Avon Lake General Contractors · Great Falls General Contractors · New Bern General Contractors · Parsons General Contractors · Rocky Point General Contractors · West Babylon General ContractorsalabamanicoleOriginal Author
sbryce_gw
11otis
alabamanicoleOriginal Author
sbryce_gw
11otis
equinoxequinox
sbryce_gw
equinoxequinox
alabamanicoleOriginal Author
sbryce_gw
equinoxequinox
equinoxequinox
11otis
alabamanicoleOriginal Author
borderbarb
mendopete
equinoxequinox
mendopete
equinoxequinox
organicislandfarmer
alabamanicoleOriginal Author