


Shaul's Harvesting technique
pjames
14 years ago
Sort by:Oldest
Comments (11)
Related Stories
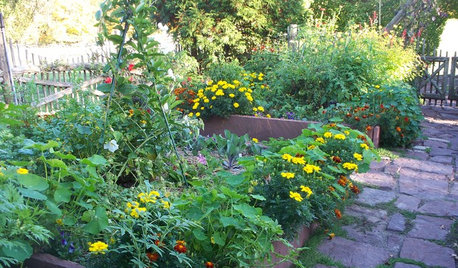
GARDENING GUIDESOrganic Matters: Thwart Insect Pests With Trap Crops
Add a few sacrificial plants to your garden to lure insects away from the harvest
Full Story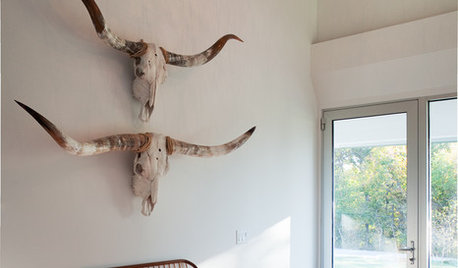
DECORATING STYLESModern Southwestern Style Wrangles Fall Flair
Break from the outdated, seasonally inappropriate herd with harvest colors and rich references, and nary a hide in sight
Full Story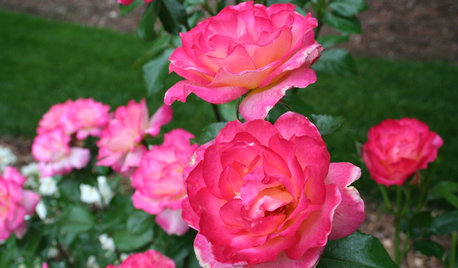
GARDENING GUIDESSoutheast Gardener: What to Do in June
Get your snippers out to protect your roses from beetles and harvest lavender from the landscape. It's a glorious month for Southern gardens
Full Story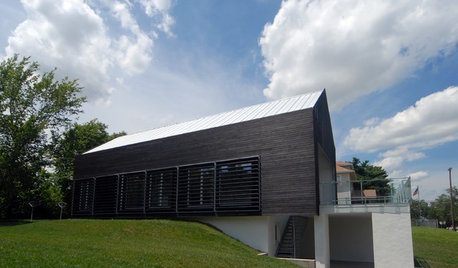
REMODELING GUIDES'Yakisugi-ita' Is Setting the Siding World on Fire
Exterior wood siding created by a Japanese burning technique is now alighting in the Western world
Full Story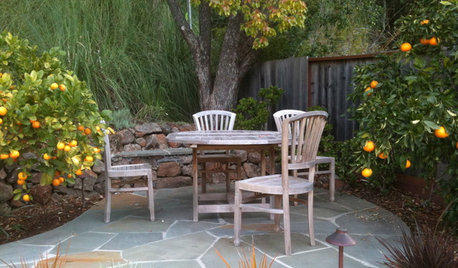
GARDENING AND LANDSCAPINGCrazy for Fruit Trees
Whether a single citrus or a mini apple orchard, even the smallest landscape space can bear deliriously delicious fruit
Full Story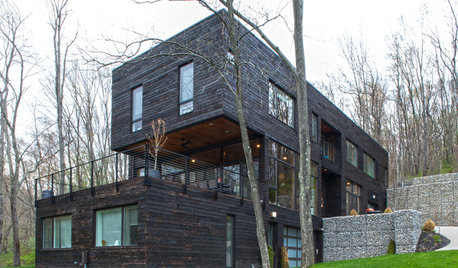
HOUZZ TOURSMy Houzz: Modernism Takes a Natural Turn in Pennsylvania
Generous wood throughout and woodsy sights outdoors soften and warm this home’s modern lines
Full Story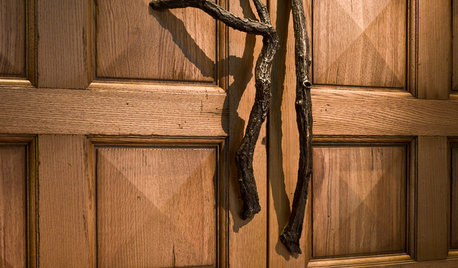
WOODWoodipedia: Make a Solid Choice With Oak
Forget those low-end products of old. Red and white oak today are beautiful, versatile and relatively inexpensive
Full Story
EDIBLE GARDENSSummer Crops: How to Grow Tomatoes
Plant tomato seedlings in spring for one of the best tastes of summer, fresh from your backyard
Full Story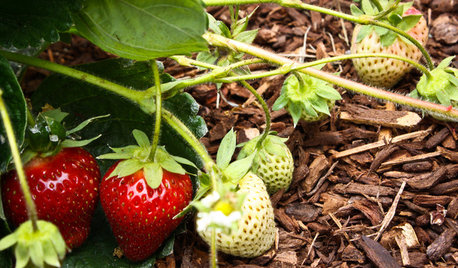
SPRING GARDENINGSummer Crops: How to Grow Strawberries
Pluck your own sweet strawberries right from the garden vine for smoothies, salads or eating then and there
Full Story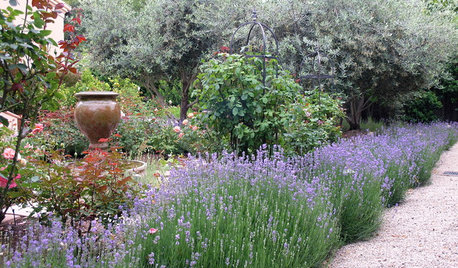
FLOWERSHerb Garden Essentials: Grow Your Own Fragrant Lavender
This do-it-all plant is ideal for almost any garden, and its uses are abundant around the home
Full Story
gmw1
organicislandfarmer
Related Professionals
Chattanooga Landscape Architects & Landscape Designers · Edmond Landscape Contractors · Peabody Landscape Contractors · Broomfield Landscape Contractors · Doctor Phillips Landscape Contractors · Fort Atkinson Landscape Contractors · Fort Worth Landscape Contractors · Natick Landscape Contractors · Spring Landscape Contractors · Vashon Landscape Contractors · Genesee Stone, Pavers & Concrete · Winchester Center Stone, Pavers & Concrete · Bound Brook General Contractors · Evans General Contractors · Hartford General ContractorspjamesOriginal Author
organicislandfarmer
Shaul
randomz
Shaul
pjamesOriginal Author
fam62cc
pjamesOriginal Author
fam62cc