


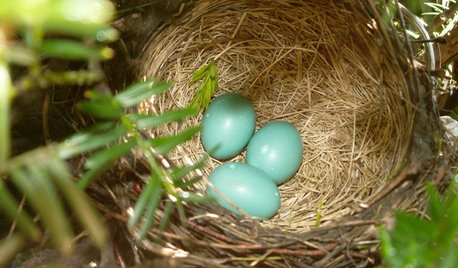
Bird's nest worm bin
paulns
18 years ago
Sort by:Oldest
Comments (10)
Related Stories
GARDENING FOR BIRDSWhat to Know About Birds Nesting in Your Yard
Learn how to observe, record data and help ornithologists with NestWatch’s citizen science project understand bird trends
Full Story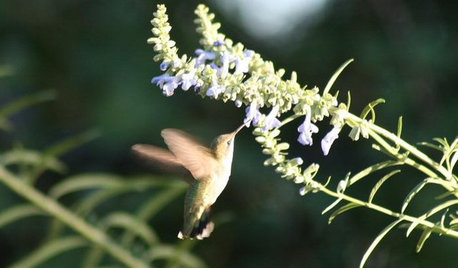
GARDENING FOR BUTTERFLIESA Quick-Start Guide to Bird-Watching for Fun and Learning
Set out some seed and grab your field guide. Bird-watching is an easy, entertaining and educational activity for the whole family
Full Story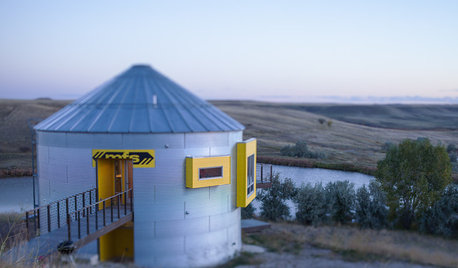
HOUZZ TOURSHouzz Tour: Prairie Grain Bin Turned Bucolic Retirement Home
An agrarian structure and a big dream combine in this one-of-a-kind home that celebrates 250 acres of Montana grasslands
Full Story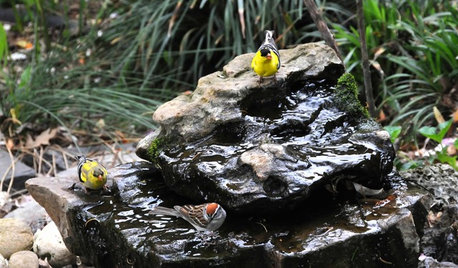
OUTDOOR PROJECTSBring In the Birds With a Homemade Bubble Rock
An avian expert from Southern Indiana shows how to make a burbling fountain that migrating birds will love
Full Story
GARDENING FOR BUTTERFLIESGreat Design Plant: Red Bird-of-Paradise Soars With Color
Fiery bursts of red-orange flowers bring hot summer gardens to life, while this shrub's drought tolerance keeps the living easy
Full Story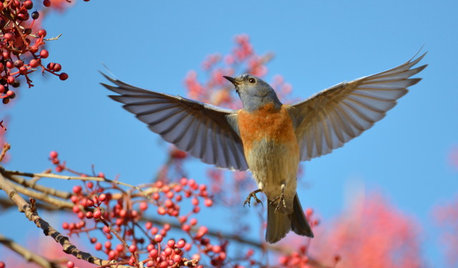
GARDENING GUIDESHow to Bring the Joy of Bluebirds to Your Garden
Attract these beautiful songbirds with nesting habitat and food sources, including berry-producing trees and shrubs
Full Story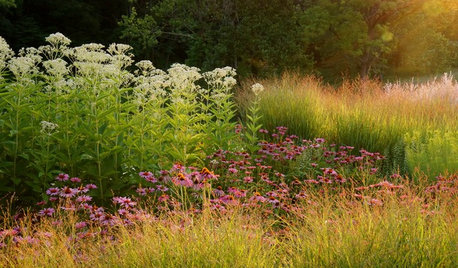
GARDENING FOR BUTTERFLIESGarden for Wildlife to Reap Rich Rewards
When you plant with animals and insects in mind, you make gardening easier, the planet healthier and yourself more present
Full Story
LIFE8 Wonderful Winter Hobbies to Nurture at Home
Make nesting at home this winter even more pleasurable by cultivating new activities and dreaming up meaningful creations
Full Story
GARDENING FOR BUTTERFLIESGardening for the Bees, and Why It’s a Good Thing
When you discover how hard bees work for our food supply, you may never garden without them in mind again
Full Story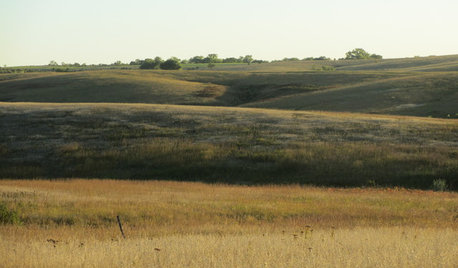
GARDENING GUIDESHow to Get Your Prairie On
Have a field day with your landscape, even if you've got just a few modern containers on a paved path
Full StoryMore Discussions
ShenValleyJoe
tracywag
Related Professionals
Port Royal Landscape Architects & Landscape Designers · Burlington Landscape Contractors · Dallas Landscape Contractors · Edinburg Landscape Contractors · Fort Atkinson Landscape Contractors · Tigard Landscape Contractors · Arlington General Contractors · Dover General Contractors · Fredonia General Contractors · Linton Hall General Contractors · Monroe General Contractors · Norwell General Contractors · Overlea General Contractors · Owosso General Contractors · Rossmoor General ContractorsJeanie65
colleen_mi
paulnsOriginal Author
sqh1
paulnsOriginal Author
ogsteacher
antoniab
11otis