


MWC-Mod-1
pskvorc
9 years ago

Related Stories
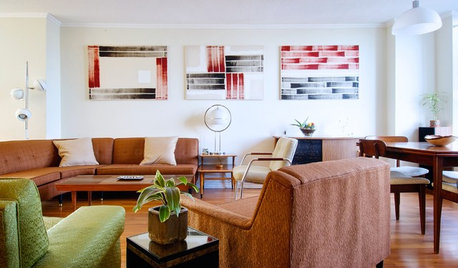
HOUZZ TOURSMy Houzz: Mod Finds Create a Fashionable Air in Toronto
Iconic midcentury furniture mixes with original artwork to bring a couple's light-filled one-bedroom apartment to life
Full Story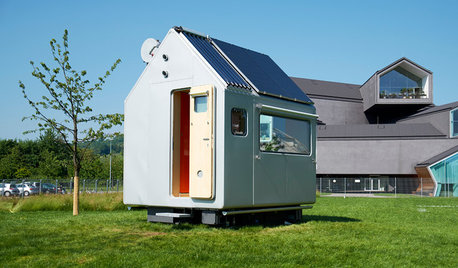
MODERN ARCHITECTUREThe Gable Goes Mobile, Micro and Mod
Three ingenious tiny homes feature the familiar peaked roof in unexpected ways
Full Story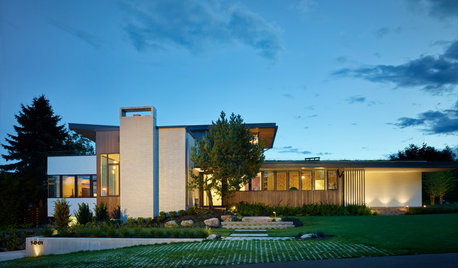
CONTEMPORARY HOMESHouzz Tour: Tapping Midcentury Mod and Views in Seattle
Openness to the patio and mountain views give this 1950s home an appealing connection to nature
Full Story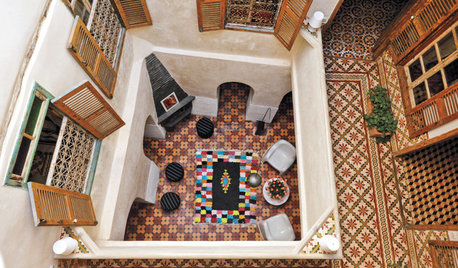
GARDENING AND LANDSCAPING10 Gorgeous Courtyards From Mod to Moroccan
Some have pools or fountains; some are awash only with greenery. These courtyards run the gamut of styles but have alluring looks in common
Full Story
SHOP HOUZZHouzz Products: One Mod Sofa, Two Cool Designer Looks
Choose your style slant: classic or glam. Designer Kyle Schuneman puts everything together for you with Houzz Products picks
Full Story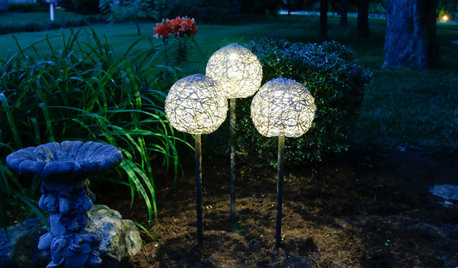
DIY PROJECTSMake a Mod Solar Lamp Trio for the Garden
What’s that hovering ethereally in the dark? A set of cool globe lights showing off your DIY ingenuity
Full Story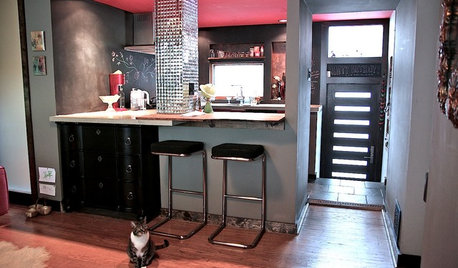
HOUZZ TOURSHouzz Tour: For the Love of a Cat in Philadelphia
Pet-friendly features integrated into a mod, eclectic and colorful home mean everyone in the family is happy
Full Story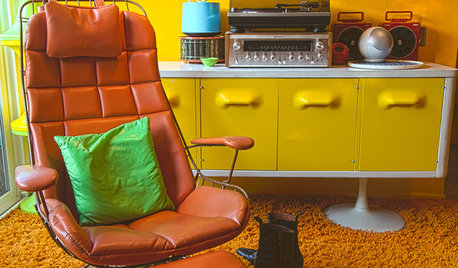
HOUZZ TOURSMy Houzz: Groovy 1970s Retro Pad in Los Angeles
Tune in to a dazzling kaleidoscope of colors, collectibles and vintage furnishings in this lovingly curated, mod California home
Full Story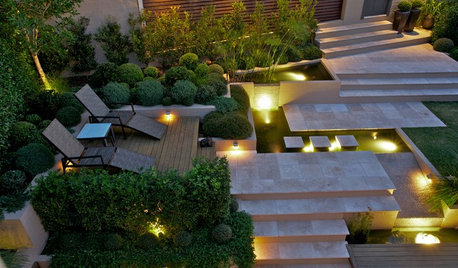
LANDSCAPE DESIGNGarden Levels Transform a Steep Slope in Australia
From unusable to incredible, this outdoor area now has tumbled travertine, water features and mod greenery
Full Story
HOUZZ TOURSMy Houzz: Humor and Kitsch Meet Midcentury Modern
Candy-colored accents set off clean lines and mod furnishings in this playful, approachable home for a Texas family
Full StoryMore Discussions
mendopete
equinoxequinox
Related Professionals
Bellflower Landscape Architects & Landscape Designers · Sand Springs Landscape Architects & Landscape Designers · Walnut Landscape Architects & Landscape Designers · Woburn Landscape Contractors · Avocado Heights Landscape Contractors · Kailua Landscape Contractors · San Carlos Park Landscape Contractors · 07920 Landscape Contractors · Hamilton Square General Contractors · Henderson General Contractors · Little Egg Harbor Twp General Contractors · Oxon Hill General Contractors · Post Falls General Contractors · Springboro General Contractors · West Lafayette General ContractorspskvorcOriginal Author
mendopete
pskvorcOriginal Author
barbararose21101
pskvorcOriginal Author
mendopete
mendopete
pskvorcOriginal Author
pskvorcOriginal Author
equinoxequinox
pskvorcOriginal Author
pskvorcOriginal Author
pskvorcOriginal Author
mendopete
pskvorcOriginal Author
pskvorcOriginal Author
mendopete
pskvorcOriginal Author
pskvorcOriginal Author
chuckiebtoo
pskvorcOriginal Author
mendopete
pskvorcOriginal Author
pskvorcOriginal Author
mendopete