


grass clippings & red wigglers
iowafarmersdaughter
13 years ago
Sort by:Oldest
Comments (23)
Related Stories
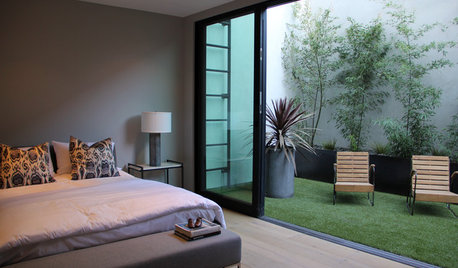
LANDSCAPE DESIGNIs It Time to Consider Fake Grass?
With more realistic-looking options than ever, synthetic turf can be a boon. Find the benefits and an installation how-to here
Full Story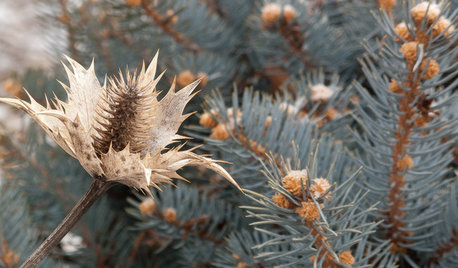
WINTER GARDENINGInspiring Winter Scenes From the Denver Botanic Gardens
Use seed heads, bare branches and grasses to design lovely garden displays when the ground is frozen
Full Story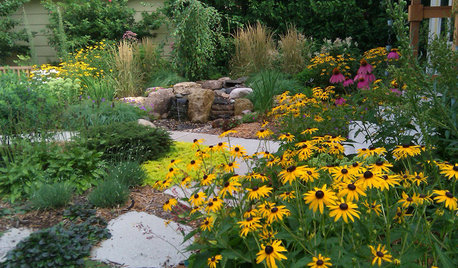
LANDSCAPE DESIGN12 Ideas From Stunning Fall Gardens
From highlighting dramatic foliage to showcasing luminous grasses, here’s how to make the most of your garden this season
Full Story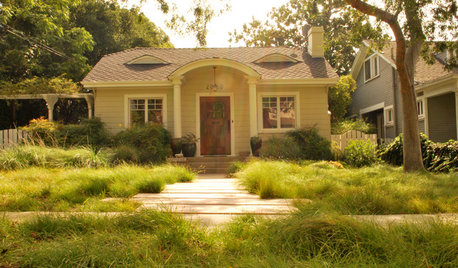
MOST POPULARMeet a Lawn Alternative That Works Wonders
Carex can replace turfgrass in any spot, is low maintenance and adjusts easily. Add its good looks and you’ve got a ground cover winner
Full Story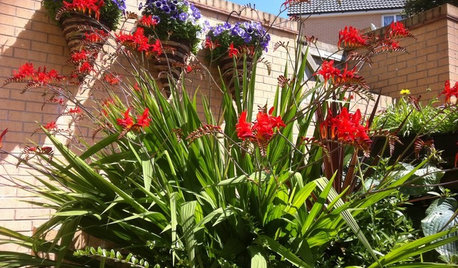
URBAN GARDENSPut Plants to Work in Small Gardens
Grasses, ground cover and more keep small gardens big on visual interest
Full Story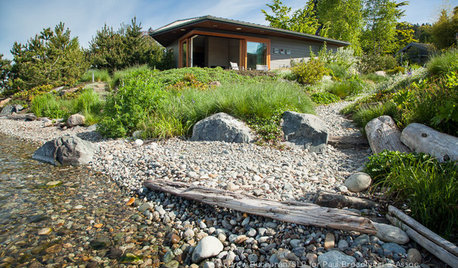
INSPIRING GARDENSLawn Gives Way to a More Natural Lakeside Garden
Meadow grasses, beach pebbles and driftwood replace turfgrass in a nature-friendly landscape on Lake Washington’s shore
Full Story
GARDENING GUIDES8 Perennials for Great Fall Color
Trees haven't cornered the market on autumn splendor. Add these flowering perennials for a foliage sight to behold
Full Story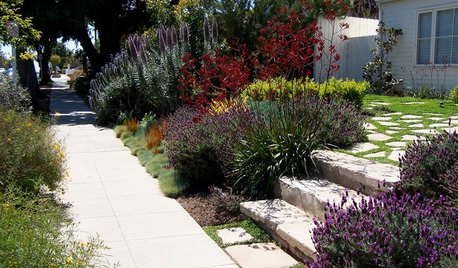
LAWN ALTERNATIVESStop Fighting the Patchy Lawn!
Here are 3 situations where a garden may be a better idea than more turfgrass
Full Story
GARDENING GUIDES20 Favorite Flowers for Butterflies and Bouquets
Discover perennials and annuals that do double duty as butterfly magnets and versatile cut flowers
Full Story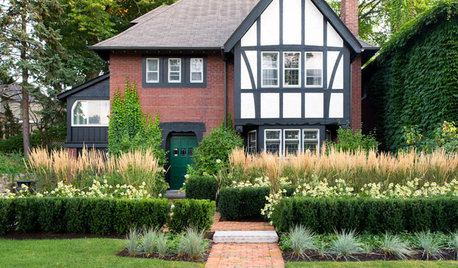
LANDSCAPE DESIGNHow Low Can Hedges Go? Discover Unusual Garden Borders
Short enough to step over, high enough to be a stretch ... check out these radically different hedge styles and tell us your opinion
Full StoryMore Discussions
sbryce_gw
11otis
Related Professionals
Windham Landscape Architects & Landscape Designers · Harrison Landscape Architects & Landscape Designers · Aurora Landscape Contractors · Fort Wayne Landscape Contractors · Harvey Landscape Contractors · Hollywood Landscape Contractors · Mount Kisco Landscape Contractors · Vallejo Landscape Contractors · West Orange Landscape Contractors · Mountlake Terrace General Contractors · New Carrollton General Contractors · Oxon Hill General Contractors · Rossmoor General Contractors · Shorewood General Contractors · Woodland General Contractorssbryce_gw
antoniab
sbryce_gw
equinoxequinox
awoogle
kenr1963
stillwaters
randomz
antoniab
pjames
equinoxequinox
pjames
equinoxequinox
pjames
equinoxequinox
pjames
sbryce_gw
randomz
equinoxequinox
equinoxequinox
steamyb