


Simple vermipost bin for Scout project
melenkolee
14 years ago
Related Stories
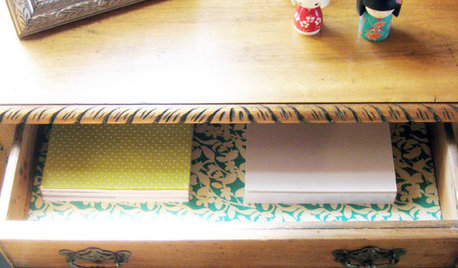
DECORATING GUIDES10 Ways to Reuse Wrapping Paper
Don't just toss your prettiest paper in the trash or recycling bin — gift wrap scraps can make wonderful home decor
Full Story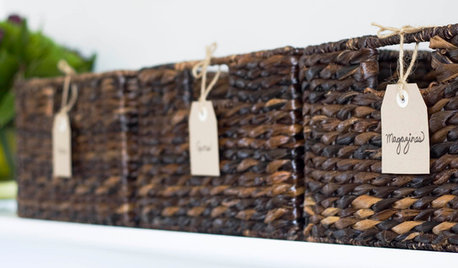
ORGANIZINGGet Organized: Are You a Piler or a Filer?
Tote out the bins and baskets and learn how to be an organized piler if file cabinets leave you cringing
Full Story
DECLUTTERINGDecluttering — Don't Let Fear Hold You Back
Sure, you might make a mistake when tackling a decluttering project, but that's OK. Here's why
Full Story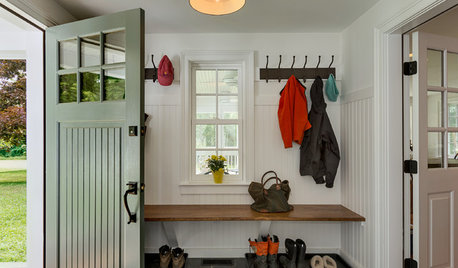
DECLUTTERINGSmall Steps for Keeping Your Housekeeping Resolutions
Take a different approach this year, making simple, positive changes that add up before you know it
Full Story
PRODUCT PICKSGuest Picks: Earth-Friendlier Finds for the Home
Reduce paper and plastic use the simple, stylish way with ecoconscious kitchen, laundry and bathroom items
Full Story
MOST POPULARBlast Decluttering Roadblocks Once and for All
Change your thinking to get the streamlined, organized home of your dreams
Full Story
DECORATING GUIDESMore Is More: The 10 Tenets of Maximalist Style
Ready to join the school of over-the-top design? Learn how to embrace excess in your interiors
Full Story
CONTRACTOR TIPSBuilding Permits: What to Know About Green Building and Energy Codes
In Part 4 of our series examining the residential permit process, we review typical green building and energy code requirements
Full Story
ENTERTAININGGenius Home Prep: A Guest Room in a Box
No dedicated guest room? Make hosting overnighters easier by keeping the essentials in one place
Full Story
ORGANIZINGPre-Storage Checklist: 10 Questions to Ask Yourself Before You Store
Wait, stop. Do you really need to keep that item you’re about to put into storage?
Full StoryMore Discussions
cathd66
steamyb
Related Professionals
Danbury Landscape Architects & Landscape Designers · Willowick Landscape Architects & Landscape Designers · Bedford Landscape Contractors · Ellicott City Landscape Contractors · Kerman Landscape Contractors · Lynn Landscape Contractors · Mesa Landscape Contractors · San Antonio Landscape Contractors · Waterford Landscape Contractors · Alhambra General Contractors · Avon Lake General Contractors · Bryan General Contractors · Duncanville General Contractors · Norristown General Contractors · Parsons General Contractorsjonas302
african
melenkoleeOriginal Author
sbryce_gw
cathd66
idratherbegardening
mtuffield
patrick1969
melenkoleeOriginal Author
jonas302