


Paranoia, first time vermicomposter
hellius
13 years ago
Related Stories

HOME TECHThe Inevitable Future of Drones Around Your Home
As Google joins the push for airborne deliveries, it seems only a matter of time before neighborhoods are buzzing with drones. Is that OK?
Full Story
MOST POPULARWhy We Love Midcentury Modern Design
There's a method to all this 'Mad Men'-ness — just look to psychology, tough times and, believe it or not, Apple
Full Story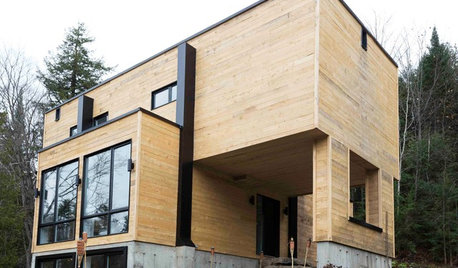
ARCHITECTUREHouzz Tour: Shipping Containers Make for an Unusual Home
Recycling hits the big time as a general contractor turns 4 metal boxes into a decidedly different living space
Full Story
GARDENING GUIDESHouzz TV: Make a Worm Bin for Rich Soil and Happy Plants
A worm-powered compost bin that can fit under a sink turns food scraps into a powerful amendment for your garden. Here’s how to make one
Full Story
HEALTHY HOMEGive Your Baby the Healthiest, Safest Nursery Possible
Protect your newborn by choosing nontoxic nursery furniture, bedding, rugs and paint. We give you all the details here
Full Story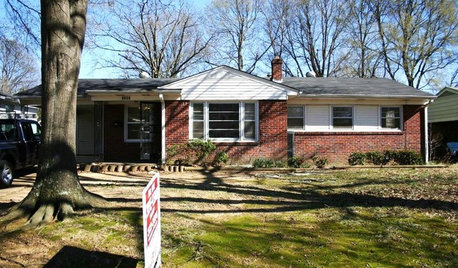
REMODELING GUIDES5 Ways to Protect Yourself When Buying a Fixer-Upper
Hidden hazards can derail your dream of scoring a great deal. Before you plunk down any cash, sit down with this
Full Story
MODERN ARCHITECTUREHouzz Tour: Platinum-Rating Hopes for a Sterling Modern Home
Efficiency takes an artful form in a minimalist San Francisco home furnished with iconic and custom pieces
Full Story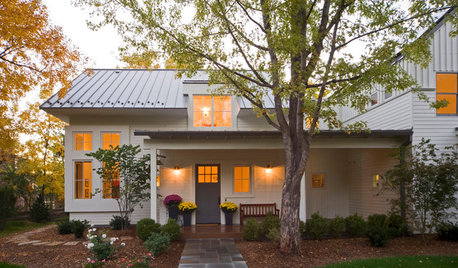
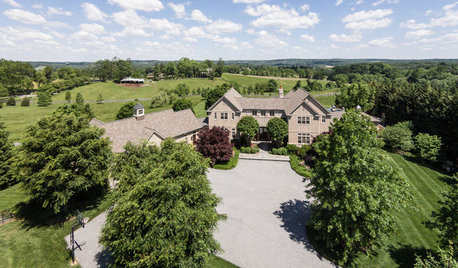
SELLING YOUR HOUSEHelp for Selling Your Home Faster — and Maybe for More
Prep your home properly before you put it on the market. Learn what tasks are worth the money and the best pros for the jobs
Full Story
REMODELING GUIDESOne Big Happy Expansion for Michigan Grandparents
No more crowding around the Christmas tree. Friends and extended family now have all the elbow room they need, thanks to a smart addition
Full StoryMore Discussions
fam62cc
equinoxequinox
Related Professionals
Marina Landscape Architects & Landscape Designers · Bridgeview Landscape Contractors · Cary Landscape Contractors · Mastic Beach Landscape Contractors · Muttontown Landscape Contractors · Rockville Landscape Contractors · Barrington General Contractors · Brownsville General Contractors · Citrus Heights General Contractors · Country Club Hills General Contractors · DeSoto General Contractors · Maple Heights General Contractors · Redding General Contractors · Welleby Park General Contractors · Wyomissing General ContractorshelliusOriginal Author
fam62cc
antoniab
antoniab
helliusOriginal Author
helliusOriginal Author
equinoxequinox