


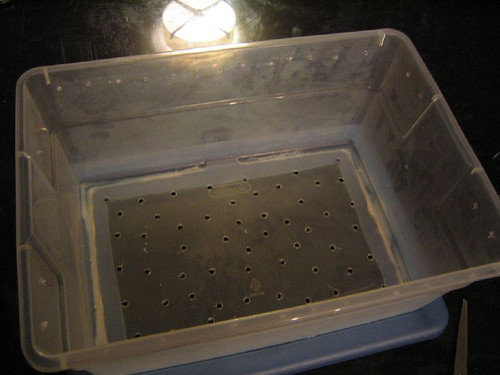
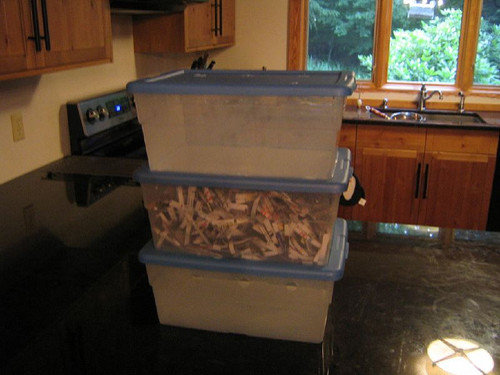
My new DIY bin
fisheggs
14 years ago
Related Stories

GARDENING GUIDESHouzz TV: Make a Worm Bin for Rich Soil and Happy Plants
A worm-powered compost bin that can fit under a sink turns food scraps into a powerful amendment for your garden. Here’s how to make one
Full Story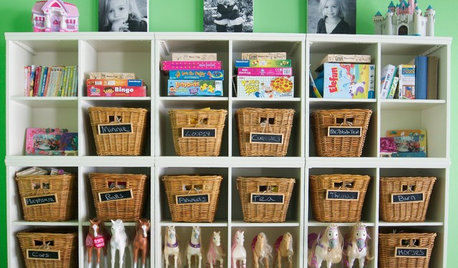
DECLUTTERINGTame the Toy Chaos: Bin Storage for All
New project for a new year: With bins, totes and shelves, a clutter-free playroom can be yours
Full Story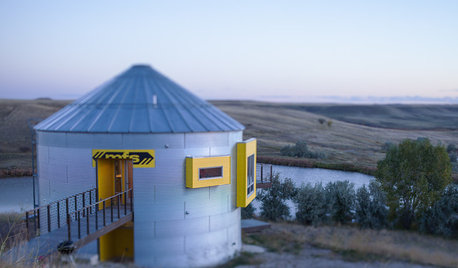
HOUZZ TOURSHouzz Tour: Prairie Grain Bin Turned Bucolic Retirement Home
An agrarian structure and a big dream combine in this one-of-a-kind home that celebrates 250 acres of Montana grasslands
Full Story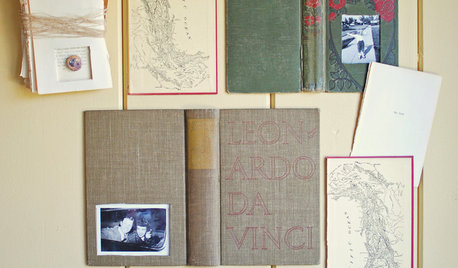
DIY: Creative Vintage Book Cover Frames
See how to turn buried book covers into one-of-a-kind frames for family photos
Full Story
SALVAGEDIY: Secrets of Successful Upcycling
Learn how to find and customize salvaged pieces and materials to create one-of-a-kind furniture and accessories you love
Full Story
DIY PROJECTS3 Easy DIY Gift and Wrapping Ideas
With the holidays just around the corner, consider these creative ideas for presents and gift wrap this season
Full Story
DIY PROJECTSHide Cords in Style With DIY Graphic Panels
Keep wires under wraps for a neater-looking home office or media center, with wall panels you make to your exact taste
Full Story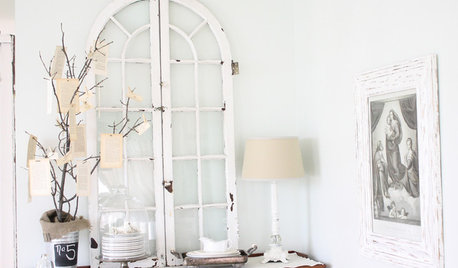
DECORATING GUIDESUncover Your Junk's Hidden Decorating Potential — Scads of DIY Ideas
Release your typewriter's inner planter or a drum set's coffee table. These creative ideas will have you seeing the possibilities
Full Story
DECORATING GUIDESStroke of DIY Genius: 20 Cool Graphic Art Ideas
Typography, original art and geometric shapes shine in these crafty and clever homeowner projects
Full Story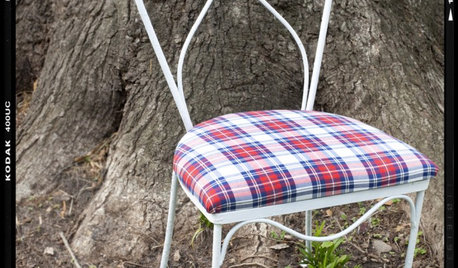
DECORATING PROJECTSDIY Project: How to Re-Cover a Seat Cushion
Makeover a chair with a cool new seat cover, no sewing required
Full StoryMore Discussions
african
11otis
Related Professionals
North New Hyde Park Landscape Architects & Landscape Designers · Paradise Landscape Architects & Landscape Designers · Mooresville Landscape Contractors · Amesbury Landscape Contractors · Dedham Landscape Contractors · Essex Landscape Contractors · Vancouver Landscape Contractors · Winchester Landscape Contractors · Dent Stone, Pavers & Concrete · Fort Salonga General Contractors · Fort Pierce General Contractors · Milford General Contractors · Mililani Town General Contractors · Owosso General Contractors · Perrysburg General ContractorsfisheggsOriginal Author
fisheggsOriginal Author
rom.calgary.ab
fisheggsOriginal Author
rom.calgary.ab
belindach
steamyb
sbryce_gw
fisheggsOriginal Author
belindach
rom.calgary.ab
folly_grows
susanfromhawaii
folly_grows
11otis
fisheggsOriginal Author