


Worm Cage Success!
mendopete
13 years ago
Sort by:Oldest
Comments (25)
Related Stories

GARDENING GUIDESHouzz TV: Make a Worm Bin for Rich Soil and Happy Plants
A worm-powered compost bin that can fit under a sink turns food scraps into a powerful amendment for your garden. Here’s how to make one
Full Story
SALVAGEDIY: Secrets of Successful Upcycling
Learn how to find and customize salvaged pieces and materials to create one-of-a-kind furniture and accessories you love
Full Story
INSIDE HOUZZTell Us Your Houzz Success Story
Have you used the site to connect with professionals, browse photos and more to make your project run smoother? We want to hear your story
Full Story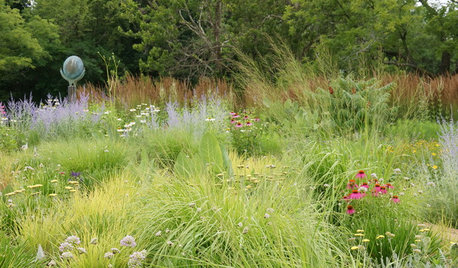
GARDENING GUIDESGet the Dirt on Your Garden’s Soil
Understand how your soil supports your plants so you can ensure your garden’s success
Full Story
SELLING YOUR HOUSEThe Latest Info on Renovating Your Home to Sell
Pro advice about where to put your remodeling dollars for success in selling your home
Full Story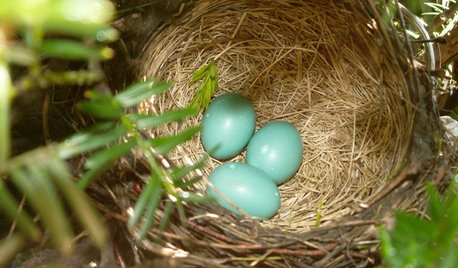
GARDENING FOR BIRDSWhat to Know About Birds Nesting in Your Yard
Learn how to observe, record data and help ornithologists with NestWatch’s citizen science project understand bird trends
Full Story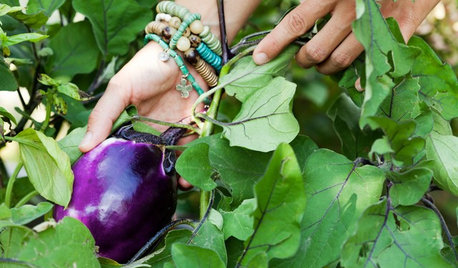
EDIBLE GARDENSHouzz Call: What Did You Grow This Summer?
Let’s celebrate the homegrown fruits and vegetables of the season. Post your pictures and tell us about your harvest
Full Story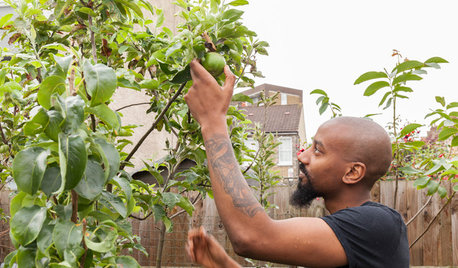
GARDENING GUIDESLush, Foodie Abundance in a Small Urban Garden
This modest backyard garden provides its owner with fruit and vegetables all year round, thanks to an innovative low-maintenance approach
Full Story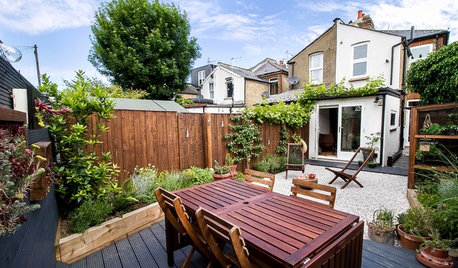
GARDENING GUIDESHow to Plan Your Edible Garden
Get organized before you plant to ensure that your fruits and vegetables have a chance to thrive
Full Story
FARM YOUR YARDHow to Get Good Soil for Your Edible Garden
The nutrients in your soil feed the plants that feed you. Here are tips on getting it right — just in time for planting season
Full Story
pjames
fam62cc
Related Professionals
Clemson Landscape Architects & Landscape Designers · New Mexico Landscape Architects & Landscape Designers · Finneytown Landscape Architects & Landscape Designers · Fort Payne Landscape Contractors · Lewisville Landscape Contractors · Ocoee Landscape Contractors · Quincy Landscape Contractors · Tinton Falls Landscape Contractors · Coronado General Contractors · Hermitage General Contractors · Leon Valley General Contractors · Mountlake Terrace General Contractors · Seal Beach General Contractors · University City General Contractors · Waipahu General ContractorsmendopeteOriginal Author
steamyb
antoniab
mendopeteOriginal Author
plumiebear
mendopeteOriginal Author
pjames
borderbarb
plumiebear
mendopeteOriginal Author
equinoxequinox
mendopeteOriginal Author
mendopeteOriginal Author
pskvorc
barbararose21101
pskvorc
mendopeteOriginal Author
pskvorc
mendopeteOriginal Author
pskvorc
mendopeteOriginal Author
barbararose21101
mendopeteOriginal Author