


Harvesting compost
Sandra Tran
13 years ago
Sort by:Oldest
Comments (14)
Related Stories
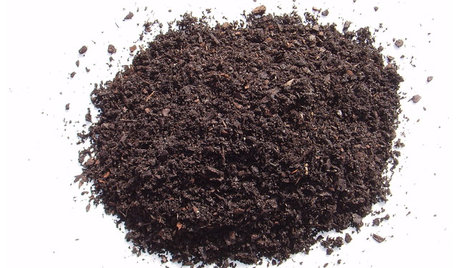
GARDENING GUIDESGet on a Composting Kick (Hello, Free Fertilizer!)
Quit shelling out for pricey substitutes that aren’t even as good. Here’s how to give your soil the best while lightening your trash load
Full Story
GARDENING AND LANDSCAPINGWorld of Design: 10 Home Gardeners Show Us Their Sweet Summer Harvests
From New York to Tokyo, these gardeners have turned their yards, terraces and rooftops into places of bounty
Full Story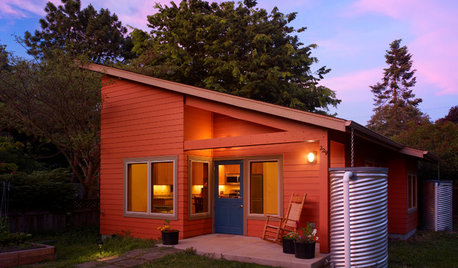
GREEN BUILDINGHow to Harvest Rainwater for Your Garden
Conserve a vital resource and save money by collecting stormwater for irrigation in a barrel or tank
Full Story
GARDENING GUIDESHouzz TV: Make a Worm Bin for Rich Soil and Happy Plants
A worm-powered compost bin that can fit under a sink turns food scraps into a powerful amendment for your garden. Here’s how to make one
Full Story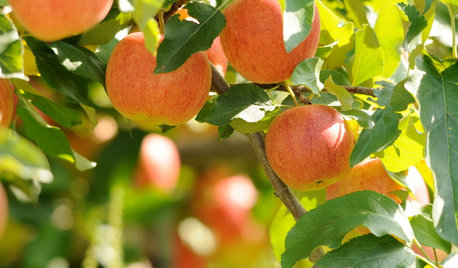
NORTHWEST GARDENINGPacific Northwest Gardener's March Checklist
Prepare for edible harvests and invite feathered friends to the garden — offering them slugs for lunch is entirely up to you
Full Story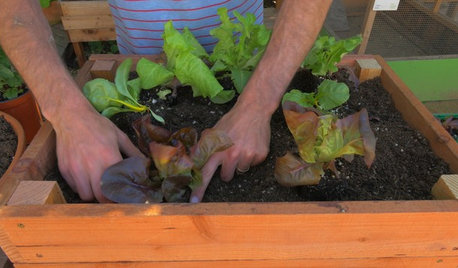
HOUZZ TVHouzz TV: How to Make and Plant a Veggie Box
See how to start edibles from seed, then transfer the seedlings to a box on stilts to make harvesting more fun
Full Story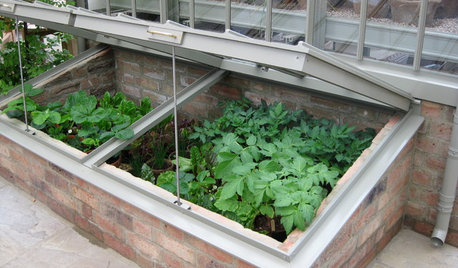
WINTER GARDENINGExtend Your Growing Season With a Cold Frame in the Garden
If the sun's shining, it might be time to sow seeds under glass to transplant or harvest
Full Story
CALIFORNIA GARDENINGCalifornia Gardener's July Checklist
Bite into tree-fresh apricots, inhale delightful garden perfumes and continue planting vegetables for a late-summer harvest
Full Story
GARDENING GUIDESCalifornia Gardener: What to Do in July
Active green thumb or not, top priorities for peak fruit and veggie season: watering, feeding, keeping up with growth
Full Story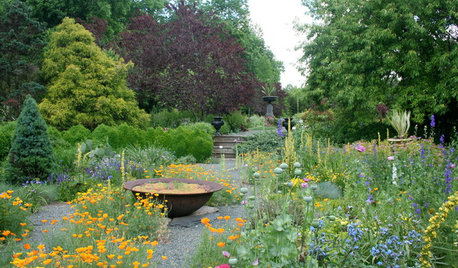
REGIONAL GARDEN GUIDESSoutheast Gardener's February Checklist
Pinch, prune and prepare this month — springtime's riches in the garden will be here before you know it
Full StoryMore Discussions
fam62cc
borderbarb
Related Professionals
Birmingham Landscape Architects & Landscape Designers · Lowell Landscape Architects & Landscape Designers · Taylorsville Landscape Architects & Landscape Designers · Anderson Landscape Contractors · Maple Valley Landscape Contractors · Arden-Arcade Landscape Contractors · Cordele Landscape Contractors · Nutley Landscape Contractors · Quincy Landscape Contractors · Sammamish Landscape Contractors · Wentzville Landscape Contractors · West Chicago Landscape Contractors · Tyngsboro Landscape Contractors · Hillsboro General Contractors · Winfield General Contractorsantoniab
pjames
equinoxequinox
Shaul
Sandra TranOriginal Author
equinoxequinox
denno
mwudan
Sandra TranOriginal Author
pjames
kathmcd7
pjames