


How I built my Tiered Wormary
vagas
16 years ago
Sort by:Oldest
Comments (8)
Related Stories

LIVING ROOMSHunker Down With a Built-In Couch
Whether your room is unusually shaped or you just want a unique furniture design, a built-in couch may be the answer
Full Story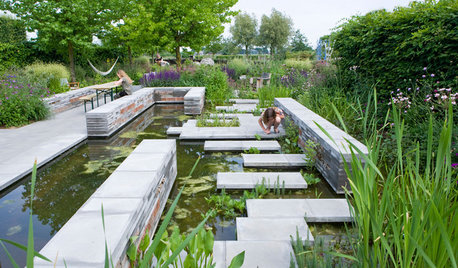
LANDSCAPE DESIGNProblem Solving With the Pros: A Garden Built From Scratch
Nature is reintroduced and redefined in a Dutch urban setting, to forge a dynamic relationship with city dwellers
Full Story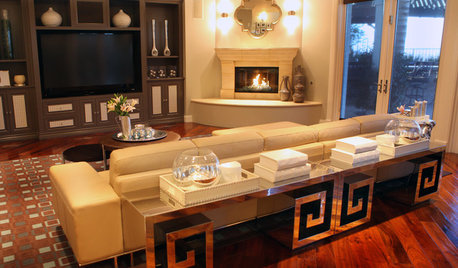
FIREPLACESConquering the Corner Fireplace
How to Decorate a Living Space When the Focal Point Is In the Corner
Full Story
DECORATING GUIDESNovel Ways With Bedroom Books
Reading and relaxing go hand in hand. See how designers are incorporating mini and all-out libraries in the bedroom
Full Story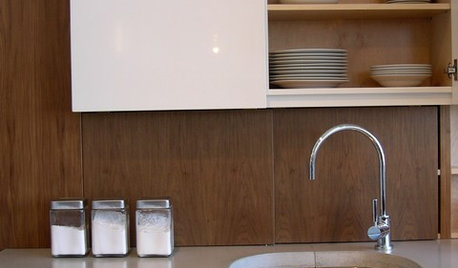
KITCHEN WORKBOOK8 Kitchen Amenities You'll Really Wish You Had
Keep kitchen mayhem and muck to a minimum with these terrific organizers and other time-saving, mess-preventing features
Full Story
STORAGEOver-the-Door Shelves Offer Sneaky Storage
Capitalize on the serendipitous space above a door with shelving filled with whatever suits your fancy
Full Story
LIVING ROOMSThe Most Popular Living Room Photos of 2015
Sectional sofas, vaulted ceilings and custom built-ins are just some of the features that made a big showing this year
Full Story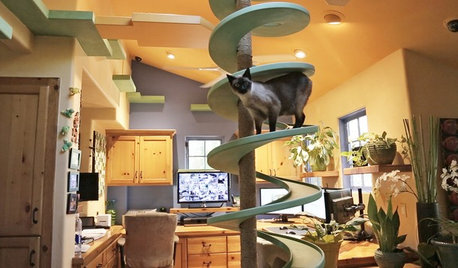
PETSIncredible Home Catwalks Make for Purr-fectly Happy Felines
Walkways and tunnels custom built to the tune of about $35,000 keep a homeowner’s 18 cats on cloud nine
Full Story
THE HARDWORKING HOME12 Smart Designs for Small-Space Living
The Hardworking Home: Furnish your compact rooms more efficiently with these creative built-ins and adjustable pieces
Full Story
CONTEMPORARY HOMESHouzz Tour: A Stunning Church Conversion in Chicago
A former Methodist church built in 1901 finds new life as an awe-inspiring family home
Full StorySponsored
More Discussions
vagasOriginal Author
plantermunn
Related Professionals
Marco Island Landscape Architects & Landscape Designers · Saint Matthews Landscape Architects & Landscape Designers · Salem Landscape Contractors · East Chicago Landscape Contractors · Mesa Landscape Contractors · Nutley Landscape Contractors · Albany General Contractors · American Canyon General Contractors · Homewood General Contractors · Jericho General Contractors · Leominster General Contractors · Monroe General Contractors · Noblesville General Contractors · North Lauderdale General Contractors · Seguin General Contractorsshyspook
tclynx
vagasOriginal Author
theras_garden
shyspook
vagasOriginal Author