


Third Attempt at Red Wigglers
MDBaker
9 years ago

Related Stories
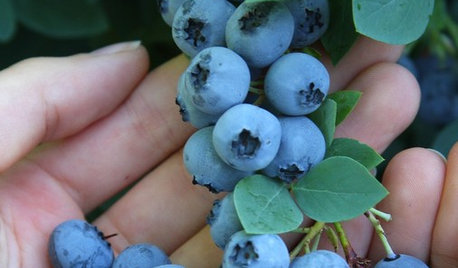
EDIBLE GARDENSSummer Crop: How to Grow Blueberries
Plant blueberries in spring or fall for garden beauty through three seasons — and a sweet superfood in summer
Full Story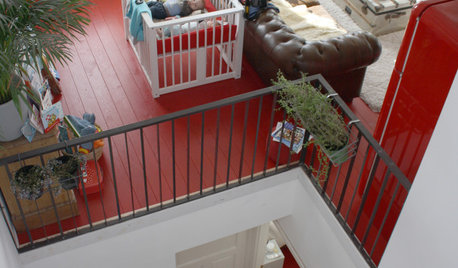
HOUZZ TOURSMy Houzz: Eclectic Coastal Home in Holland
A Dutch designer couple blend old with new in their collected and reconstructed home
Full Story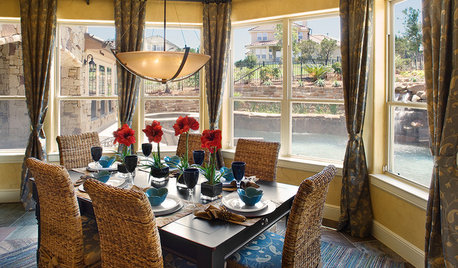
HOUSEPLANTSHow to Force Amaryllis Bulbs Indoors
Enjoy vibrant red blossoms even as gardens turn snowy white, by teaching this hardy repeat performer to ignore the calendar
Full Story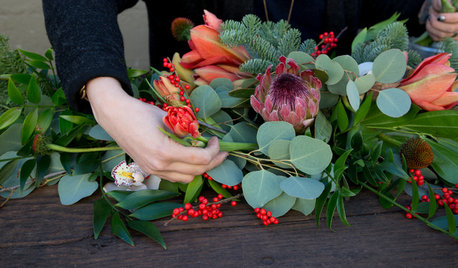
DIY PROJECTSMake a Wild, Organic Floral Table Garland for a Holiday Dinner Party
Flowers, fruit and foliage in reds, pinks, golds and greens form a colorful runner for a special winter celebration
Full Story
REMODELING GUIDESWisdom to Help Your Relationship Survive a Remodel
Spend less time patching up partnerships and more time spackling and sanding with this insight from a Houzz remodeling survey
Full Story
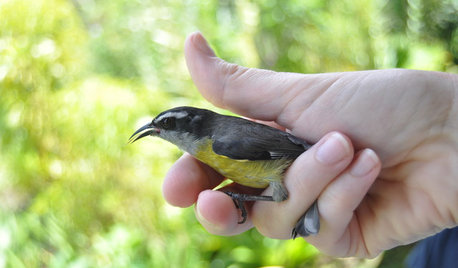
GARDENING FOR BUTTERFLIESBring on the Birds: Natural Habitat Ideas for Gardens of All Sizes
Provide nesting, watering and perching spots inspired by the Costa Rican jungle and watch the birds flock on over
Full Story
DECORATING GUIDESDecorate With Intention: Define Your Style
Creating a clear vision for your home design starts with defining your style. Here's how to begin
Full Story
HOUZZ TOURSHouzz Tour: 1960s Ranch Redo in Denver
This sibling team balanced their renovation budget by spending where it counts, and turned their Colorado childhood home into a showplace
Full Story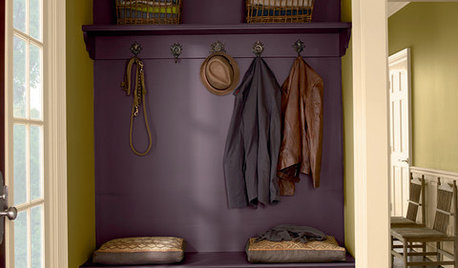
COLORWhat Goes With Purple Walls?
Make a plum wall come alive with art, warm metals, ivory, chartreuse, natural wood — and at least one wild card
Full StoryMore Discussions
chuckiebtoo
buckstarchaser
Related Professionals
Zion Landscape Architects & Landscape Designers · Allentown Landscape Contractors · Wake Forest Landscape Contractors · Alpharetta Landscape Contractors · Bridgeview Landscape Contractors · Darien Landscape Contractors · Lynn Landscape Contractors · Shoreview Landscape Contractors · Kingsburg Landscape Contractors · Anderson General Contractors · Delhi General Contractors · Duncanville General Contractors · Endicott General Contractors · Groveton General Contractors · Newburgh General Contractorsrenais1
mendopete
buckstarchaser