


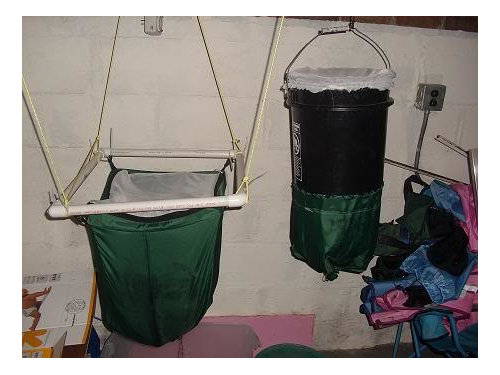
5-gallon-bucket X worm inn -- call it an F1 hybrid
mr_yan
12 years ago

Sort by:Oldest
Comments (7)
Related Stories
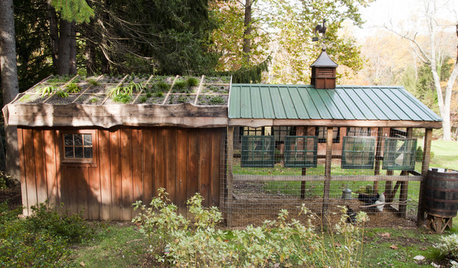
FARM YOUR YARDHouzz Call: Show Us Your One-of-a-Kind Chicken Coops
Do you have a fun or stylish backyard shelter for your feathered friends? Post your pictures and stories in the Comments!
Full Story
HOLIDAYSHouzz Call: Show Us Your Christmas Tree!
How lovely are your branches? Post a picture and share your stories
Full Story
KITCHEN STORAGEShow Us Your Hardworking Pantry
Do you have a clever and convenient kitchen storage setup? Throw some light on the larder and share your pictures and strategies
Full Story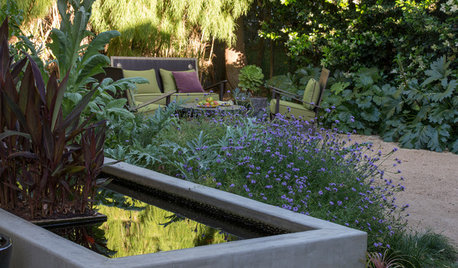
SAVING WATERHouzz Call: Are You Letting Go of Your Lawn?
Many facing a drought are swapping turf for less thirsty plantings. If you’re one of them, we’d like to hear about it
Full Story
PETSHouzz Call: Send in the Design Cats
Post your best photo of your cat at home, in the garden or with you in your studio. It could be published in a featured ideabook
Full Story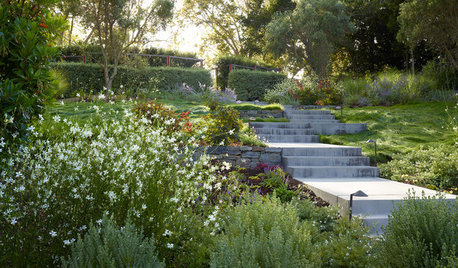
EARTH DAY5 Ideas for a More Earth-Friendly Garden
Consider increasing the size of garden beds, filtering rainwater and using plants to reduce energy use
Full Story
LIFEThe Top 5 Ways to Save Water at Home
Get on the fast track to preserving a valuable resource and saving money too with these smart, effective strategies
Full Story
DOORS5 Questions to Ask Before Installing a Barn Door
Find out whether that barn door you love is the right solution for your space
Full Story
FALL GARDENING5 Ways to Put Fall Leaves to Work in Your Garden
Improve your soil and yard the organic way with a valuable garden booster that grows on trees
Full Story
LIFEYou Showed Us: 20 Nutty Home Fixes
We made the call for your Band-Aid solutions around the house, and you delivered. Here's how you are making what's broken work again
Full StorySponsored
Leading Interior Designers in Columbus, Ohio & Ponte Vedra, Florida
More Discussions
PeterK2
equinoxequinox
Related Professionals
Dallas Landscape Contractors · Fort Atkinson Landscape Contractors · Gloucester Landscape Contractors · Melrose Landscape Contractors · Pueblo West Landscape Contractors · Saint Paul Landscape Contractors · Chicago Ridge Landscape Contractors · Immokalee Stone, Pavers & Concrete · Easley General Contractors · Havelock General Contractors · Newington General Contractors · Rotterdam General Contractors · University City General Contractors · Villa Park General Contractors · Warren General Contractorsmr_yanOriginal Author
PeterK2
equinoxequinox
mr_yanOriginal Author
equinoxequinox