


I need Ideas on how to turn this (see pics) into a worm farm
hhiii
14 years ago
Related Stories

GARDENING GUIDESHouzz TV: Make a Worm Bin for Rich Soil and Happy Plants
A worm-powered compost bin that can fit under a sink turns food scraps into a powerful amendment for your garden. Here’s how to make one
Full Story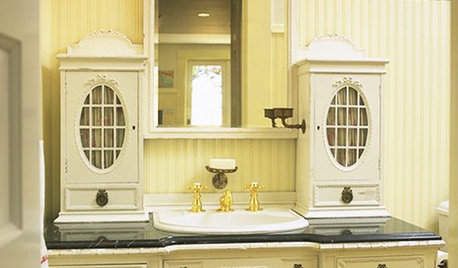
BATHROOM DESIGNTurn a Favorite Piece of Furniture Into a Vanity
Add a Bathroom Sink to a Sideboard, Farm Table, Vintage Chest or Desk
Full Story
LIFESlow Living 101: Tips for Turning Off the Chaos
It may feel as though you're too busy to slow down and enjoy life. But even little changes can have a big effect
Full Story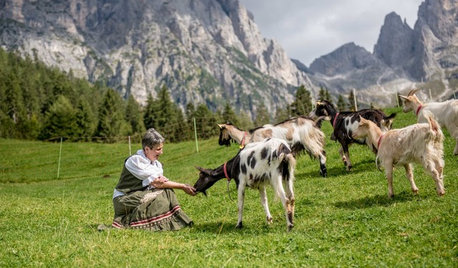
FARMHOUSESWorld of Design: See How 9 Families Live and Farm on Their Land
Join us as we visit the homes and farms of passionate food producers and hear about rural life around the globe
Full Story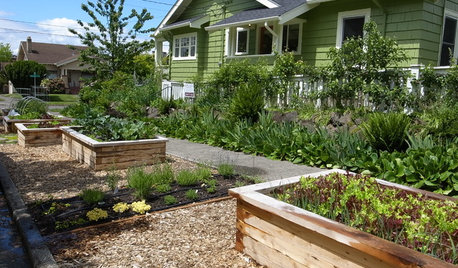
BEFORE AND AFTERSSee 6 Yards Transformed by Losing Their Lawns
Wondering whether a turf lawn is the best use of your outdoor space? These homeowners did, and they found creative alternatives
Full Story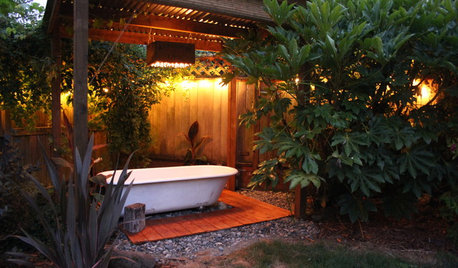
GARDENING AND LANDSCAPINGSee a Soothing Backyard Bathhouse Born From a Salvaged Tub
Creative thinking and DIY skills give a Portland couple a pergola-covered 'hot tub' under the stars
Full Story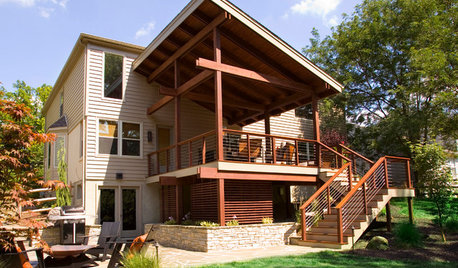
MOST POPULARSee the Difference a New Back Deck Can Make
A dramatic 2-story porch becomes the centerpiece of this Ohio family’s renovated landscape
Full Story
HOUZZ TOURSMy Houzz: Turning a Netherlands Barn Into a Country Home
Once a place for chilling milk, this Dutch home now lets the owners chill out in easygoing comfort
Full Story
DIY PROJECTSTurn a Beat-Up Bar Cart Into a Thing of Beauty
Found a cast-off cart or table? See how to transform it into a stunning accent for your home
Full Story
DIY PROJECTSTurn a Wooden Pallet Into Unique Photo Frames
Free wood? We're so in. Salvage a pallet or other cast-off wood to make delightfully distressed frames that fit almost any decor
Full Story
Katxena
hhiiiOriginal Author
Related Professionals
Danbury Landscape Architects & Landscape Designers · Mountain Brook Landscape Architects & Landscape Designers · Tomball Landscape Architects & Landscape Designers · Garden City Landscape Architects & Landscape Designers · Eagle Landscape Contractors · Elkridge Landscape Contractors · Hendersonville Landscape Contractors · Holland Landscape Contractors · Tehachapi Landscape Contractors · West Chester Landscape Contractors · Palos Hills Landscape Contractors · Medford General Contractors · Murrysville General Contractors · Texas City General Contractors · Towson General ContractorsKatxena
hhiiiOriginal Author
sbryce_gw
steamyb
stevesd
steamyb
plumiebear
sbryce_gw
steamyb
rom.calgary.ab