


Screening (harvesting)
wildgoat
14 years ago
Sort by:Oldest
Comments (18)
Related Stories
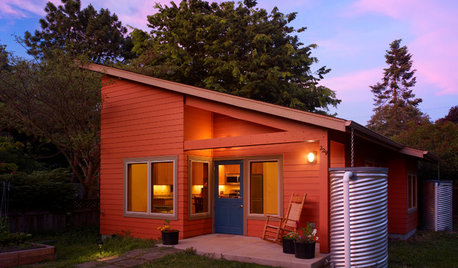
GREEN BUILDINGHow to Harvest Rainwater for Your Garden
Conserve a vital resource and save money by collecting stormwater for irrigation in a barrel or tank
Full Story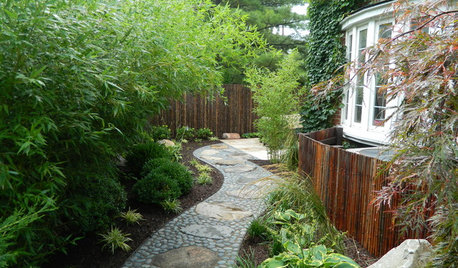
GARDENING AND LANDSCAPINGGrow a Lush Privacy Screen
No need to wait forever for patio privacy the green way. These 10 ideas will get your screening up and running in no time
Full Story
LIFE10 Ideas for Making Screen-Free Play a Reality
Here's how to tempt your children with activities that will encourage their creativity and keep them away from the TV
Full Story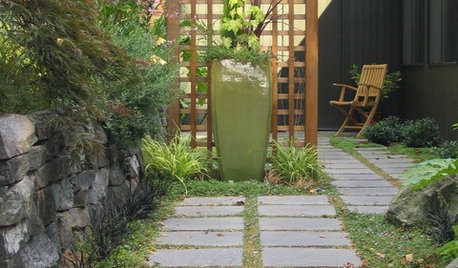
GARDENING AND LANDSCAPINGLandscapes Make a Privacy Statement
Between a fortress and a wide open space lies the sweet spot for just the right amount of privacy in your exterior spaces
Full Story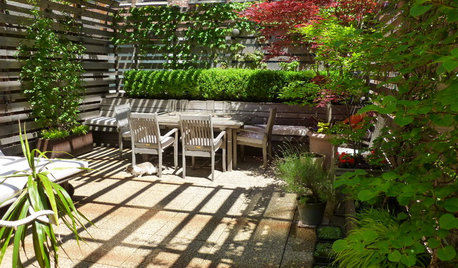
LANDSCAPE DESIGNDiscover an Intimate Garden Nestled on a Manhattan Rooftop
As rare as a taxi on a rainy day, this New York City escape balances privacy with a gentle embrace of city sights
Full Story
PRODUCT PICKSGuest Picks: Get Comfy-Cozy This Fall
Settle into autumn with decor and accessories in harvest hues or snuggly textures — or that'll warm you up in other ways
Full Story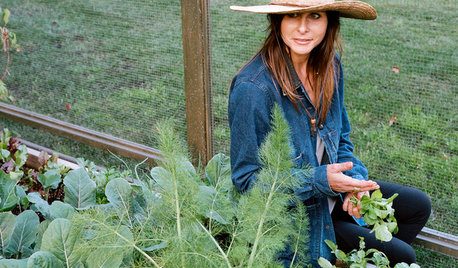
FARM YOUR YARDAdvice on Canyon Farming From L.A.'s Vegetable Whisperer
See how a screened garden house and raised beds help an edible garden in a Los Angeles canyon thrive
Full Story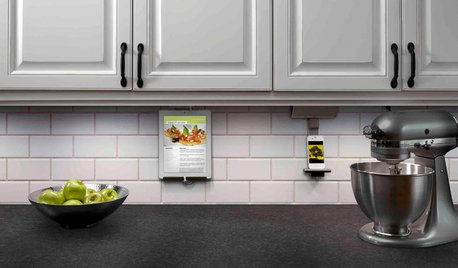
KITCHEN DESIGNHouzz Call: What’s Cooking in Your Kitchen?
Most of us turn to recipes, videos and culinary shows when we cook. Where do you set your cookbook, tablet or TV screen?
Full Story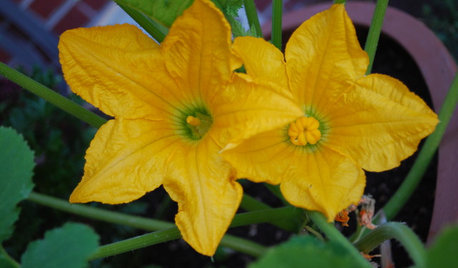
EDIBLE GARDENSSummer Crops: How to Grow Squash
Almost foolproof and with cheerful flowers, squash comes in a wide range of varieties to plant in spring
Full Story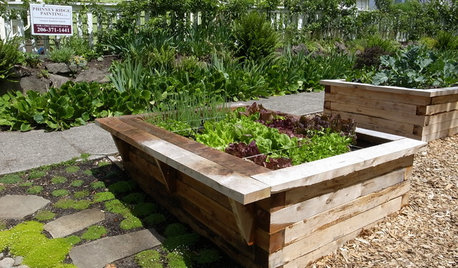
FARM YOUR YARDHow to Build a Raised Bed for Your Veggies and Plants
Whether you’re farming your parking strip or beautifying your backyard, a planting box you make yourself can come in mighty handy
Full StorySponsored
More Discussions
rom.calgary.ab
rickd59
Related Professionals
Saint Louis Park Landscape Architects & Landscape Designers · Newcastle Landscape Architects & Landscape Designers · Alamo Landscape Contractors · Bainbridge Island Landscape Contractors · Berkeley Heights Landscape Contractors · Dallas Landscape Contractors · El Sobrante Landscape Contractors · Galt Landscape Contractors · Hicksville Landscape Contractors · Lynchburg Landscape Contractors · The Crossings General Contractors · Country Club Hills General Contractors · New Carrollton General Contractors · Summit General Contractors · Waimalu General Contractorsbaorganics
rom.calgary.ab
marauder01
wildgoatOriginal Author
gwtamara
jacqueinthegorge
Shaul
fam62cc
Shaul
fam62cc
fam62cc
Shaul
gmw1
cathd66
Shaul
Shaul