


need to k now
rabbit8
14 years ago
Related Stories


CLOSETSSimple Ways to Get Your Closet Organized Right Now
Streamline your clothing storage with strategies you can implement in a weekend
Full Story
POWDER ROOMSNow Arriving on Platform 2, a Playful Powder Room
Subway graphics from a New York City station add unexpected depth and humor to a tiny half bath in California
Full Story
MODERN STYLEHouzz Tour: Three Apartments Now a Three-Story Home
A grand new staircase unifies a sophisticated, industrial-tinged London townhouse
Full Story
KITCHEN DESIGNKitchen of the Week: Sunlit Garden Views in Bristol, U.K.
Garden access and a bright green backsplash bring color and light to this British kitchen — and the new dining room opens things up
Full Story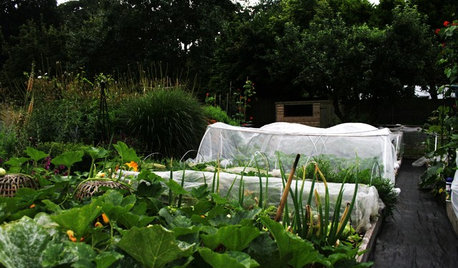
EDIBLE GARDENSFood and Community Thrive in a U.K. Allotment Garden
Get a peek at a rented garden plot in England where edibles and flowers mix and local residents can mingle
Full Story
HOME TECHUltrahigh-Definition 4K TVs Sharpen Their Sights on the Home
Pixelation? What pixelation? The latest breed of TV offers a smoother picture than ever before — and the price is dropping all the time
Full Story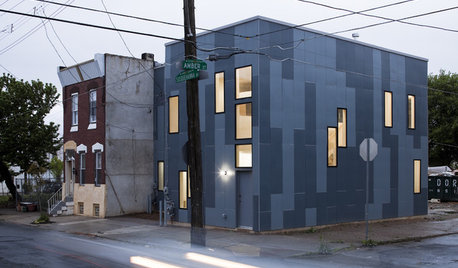
HOUZZ TOURSHouzz Tour: The 100K House Project
Efficient Design and Nontraditional Finishes Add Up to Affordable Style
Full Story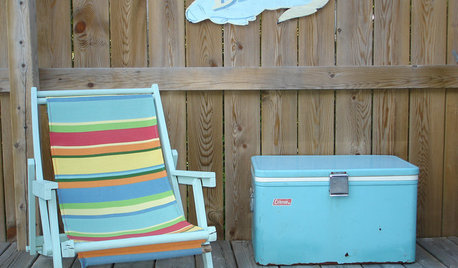
FUN HOUZZDon’t Be a Stickybeak — and Other Home-Related Lingo From Abroad
Need to hire a contractor or buy a certain piece of furniture in the U.K. or Australia? Keep this guide at hand
Full Story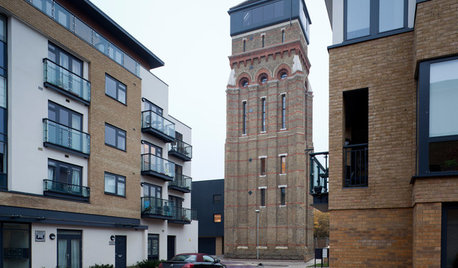
ARCHITECTUREHouzz Tour: Towering Above London in a 7-Story Home
Maximizing see-forever views, the U.K. couple who converted this water tower are aiming high
Full StorySponsored
More Discussions


bossjim1
kayjones
Related Professionals
Piqua Landscape Architects & Landscape Designers · Winder Landscape Architects & Landscape Designers · Zion Landscape Architects & Landscape Designers · Manchester Landscape Contractors · Bergenfield Landscape Contractors · East Chicago Landscape Contractors · Essex Landscape Contractors · Longview Landscape Contractors · Milton Landscape Contractors · Mount Sinai Landscape Contractors · Raleigh Landscape Contractors · Salmon Creek Landscape Contractors · Uxbridge Landscape Contractors · West Chester Landscape Contractors · North Hills Landscape Contractorseristal
eristal
mark4321_gw
eristal
rabbit8Original Author
eristal